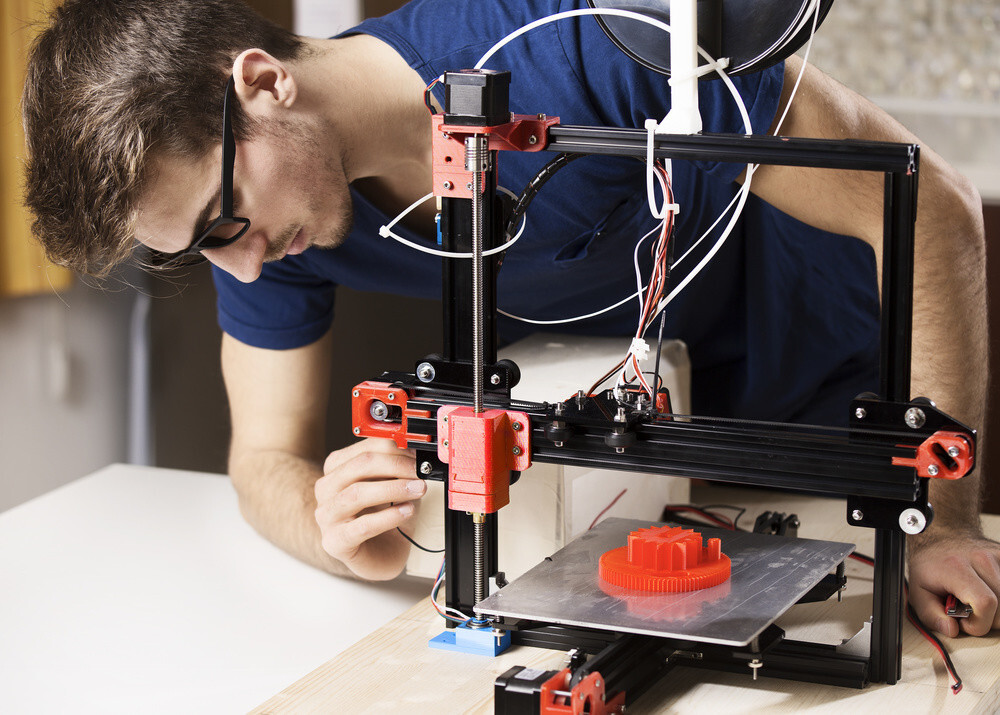
3D printing is an innovative habit to have, and as it is increasingly becoming popular, many of us are using it for different purposes.
Using the best quality printer is one way to make sure that you get the best 3D printing experience, and for that reason, Creality ender 3 seems to be the best option as it is being used all over the world.
However, let alone the beginners, even the professionals can get failed results when a 3D printer is not calibrated correctly.
If you were in the 3D printing industry, you would know the importance of accurate calibration in order to achieve the finest quality results.
Creality ender 3 is one of the best 3D printer available today, and without a doubt, it gives high-quality prints and faster speed, but nothing seems to be good when it is not calibrated correctly, and as a result, we end up getting the defective output prints.
To make certain that none of us goes through these circumstances of getting undesired results due to bad calibration, here is this article; we are going to present you with a comprehensive method of how to calibrate Creality ender 3 in a perfect manner.

Calibrate Creality Ender 3
Calibrating a 3D printer is not a difficult thing to do, and yet it is often ignored; calibration is one of the most important things if you want to achieve maximum accuracy and efficiency. It is one of the things that lead you towards perfection.
There are a few things that you need to tune up when setting calibration in Creality ender 3; it can be done in a couple of steps. Let us explore how we can do it.
Screw checking
The first thing or step you need is to inspect the nuts and screws of your 3D printer. Although the printer does not come with loose screws but even then, it is preferred to check it for surety.
It is necessary that all screws be fitted appropriately for proper calibration. In this way, you can eliminate the risk of getting defects in print result such as ringing. As a result, it will significantly reduce the number of failed or defective prints.
Bed levelling
One of the most crucial steps in ensuring proper calibration is bed levelling. No matter how expensive the printer you have got, if the printer bed is not in a correct position, forget about getting the perfect print at the end.
Before you move on to level the bed, make sure that the bed surface is clean and there no particles on it.
To start with levelling the printer’s bed, turn on the printer machine, and from the Prepare menu, select the Home option.
Now scroll down to Disable Steppers and click on this option; it will move the print head and will make it easier for you to position the bed accordingly.
To make the bed lower than the nozzle tip, now unscrew or rotate the knob from one corner; meanwhile, you slide the paper in between.
As soon as you feel the slightest friction, stop rotating that corner and repeat these steps with all other corners of the build plate.
Once you are done with all four corners, you have got the perfect-levelled bed.
Extruder calibration
Extruder calibration is one of the critical elements of a 3D printer’s tuning. The extruder is what determines the quantity of filament being used during the printing process; hence, it directly affects the output result.
Extruder calibration itself requires a couple of steps, the process of which is as follow.
The first thing you need to do is to lard the filament material and connects the printer with your computer. Now you need to mark the filament for that; send 100 millimeters of filament and mark it, and after that, give the command to start the printer.
The minute printer finishes the extruding process, you can inspect how far it has reached. If it exceeds the mark, it means that it is over-extruding, and if it finishes before reaching to the mark, it certifies that the extruder is under-extruding.
By now, you have got the value of how much the filament has been extruded by the extruder. For the next step in extruder calibration, you need to calculate and enter the steps per millimeter rate.
Once you have measured the correct E-value, you need it to change it in the control setting. From the menu, select the Control option, click on Motion, and there below on the screen, you will find out E-steps, change it with the one you have measured.
Belt tension and eccentric nuts setting
Other important things in calibration are belt tension and adjustment of eccentric nuts.
A loose belt can create noticeable defects in the quality of prints; you can set the belt tension by screw up the brackets that contain the bearing of the belt, move them accordingly as much the belt tension is required.
Other than that, you need to make sure that eccentric nuts are tight that are usually located under the bed. You can use the wrench or any other appropriate tool you are comfortable with.
Frequently Asked Questions
How often should you level your 3D printer?
As soon as you notice that, you are not getting the print quality as you were getting before. To be on the safe side, you should check the calibration after around ten prints.
What tools are required to calibrate the extruder?
For calibrating the extruder, you mainly need a tool for measurement; it can be a ruler, and the other for marking the points, for which you can use any marker.
What type of filaments can be used with Creality ender 3?
Creality ender 3 works well with standard filament types such as PLA, TPU, PETG, ABS, etc.
What is the size of the nozzle that comes with the Creality ender 3 printers?
Normally, Creality ender 3 comes with a brass nozzle of 0.4mm, which can be upgraded further.
Does the Creality ender have an automatic feature for bed levelling?
Bed levelling is a manual process in Creality ender and the method of which is mentioned above in this article.
