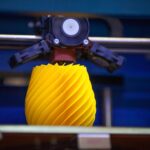
Welcome to the forefront of 3D printing perfection! In the realm of additive manufacturing, achieving flawless prints is the ultimate goal. Yet, many enthusiasts and professionals alike grapple with a persistent nemesis: layer lines. These subtle ridges mar the surface of prints, detracting from their overall quality and precision. However, fear not, for we are embarking on a journey to bid adieu to these imperfections once and for all.
In this comprehensive guide, we delve into the expertise and strategies necessary to attain unparalleled smoothness in your Creality CR-10 3D prints. From optimizing slicing settings to leveraging advanced printing techniques, we’re here to equip you with the knowledge and tools required to elevate your printing game to new heights. Say goodbye to layer lines and embrace a future of impeccably smooth 3D printing results. Let’s dive in!
Understanding Layer Lines
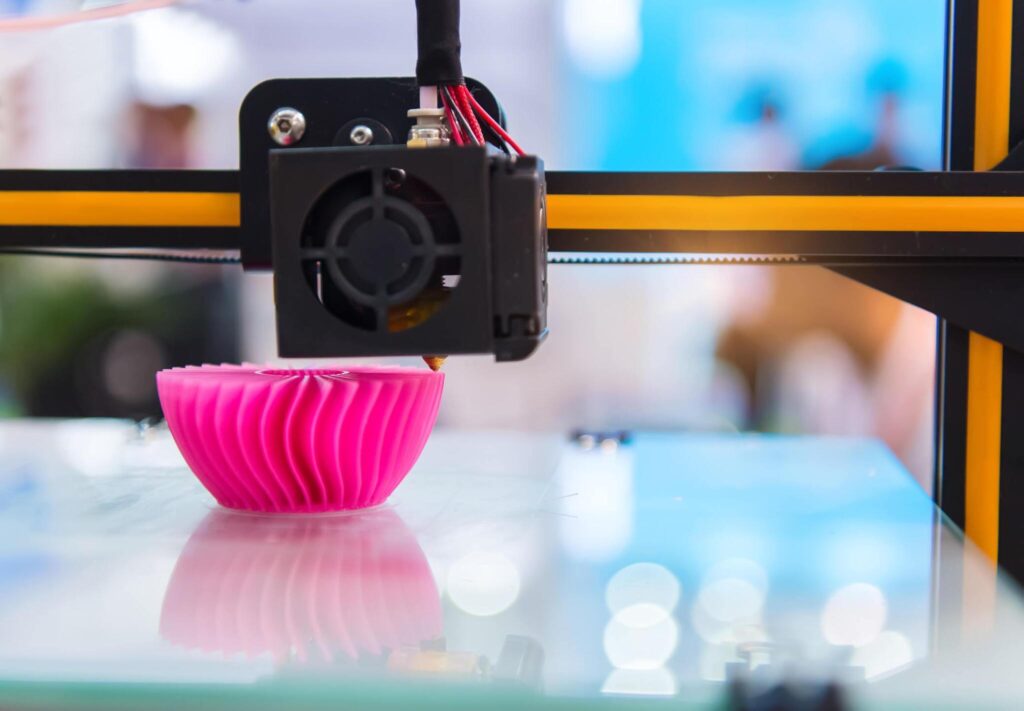
Before we delve into the strategies for eliminating layer lines, it’s essential to grasp their underlying causes. Layer lines are typically the result of the additive manufacturing process used in 3D printing. As the printer deposits successive layers of material to build the desired object, slight imperfections and inconsistencies can arise, manifesting as visible ridges or lines on the surface of the print.
Several factors contribute to the formation of layer lines, including:
1. Layer Height: The thickness of each layer deposited by the 3D printer plays a significant role in the visibility of layer lines. Finer layer heights can result in smoother surfaces, while thicker layers may exhibit more pronounced ridges.
2. Print Speed: The speed at which the printer moves while depositing material can impact the quality of the print. Higher speeds may lead to vibrations and inaccuracies, exacerbating the appearance of layer lines.
3. Temperature Settings: Maintaining optimal temperatures for both the printing material and the print bed is crucial for minimizing imperfections. Fluctuations in temperature can cause warping, uneven layer adhesion, and ultimately, visible layer lines.
4. Print Orientation and Supports: The orientation of the object being printed, as well as the use of support structures, can influence the appearance of layer lines. Complex geometries or overhangs may require additional support, which can impact surface quality.
Now that we’ve identified the culprits behind layer lines, let’s explore expert strategies for banishing them from your 3D prints:
Optimize Print Settings
Layer Height: Experiment with different layer heights to find the optimal balance between print quality and speed. Finer layers generally result in smoother surfaces but may increase print time.
Print Speed: Adjust the print speed settings to minimize vibrations and ensure precise deposition of material. Slower speeds can often yield superior results, particularly for intricate designs.
Temperature Control: Fine-tune temperature settings for both the printing material and the print bed to prevent warping and promote optimal adhesion between layers. Refer to the manufacturer’s recommendations for specific temperature ranges.
Calibrate Your Printer
Bed Leveling: Proper bed leveling is essential for ensuring uniform layer adhesion and preventing issues such as uneven extrusion. Regularly check and adjust the bed level to maintain optimal printing conditions.
Extruder Calibration: Calibrate the extruder to ensure accurate filament flow and deposition. Inconsistent extrusion can lead to visible defects in the print, including layer lines and gaps.
Utilize High-Quality Filaments
Choose Premium Materials: Invest in high-quality filaments that are known for their consistency and reliability. Inferior filaments may contain impurities or inconsistencies that can contribute to the formation of layer lines.
Experiment with Different Materials: Explore a variety of printing materials, including PLA, ABS, PETG, and specialty filaments, to find the ideal match for your specific application. Each material has unique properties that can impact print quality and surface finish.
Post-Processing Techniques
Sanding and Smoothing: After printing, carefully sand the surface of the object to remove imperfections and smooth out layer lines. Start with coarse-grit sandpaper and gradually progress to finer grits for a polished finish.
Priming and Painting: Apply a primer to the printed object to fill in any remaining layer lines and create a smooth, uniform surface. Follow up with paint or a topcoat to enhance the appearance and durability of the print.
Advanced Printing Techniques
Variable Layer Height: Experiment with variable layer height settings to prioritize detail in certain areas of the print while maintaining efficiency in others. This technique can help minimize visible layer lines without significantly increasing print time.
Resin Printing: Consider exploring resin-based 3D printing technologies, such as SLA or DLP, which produce exceptionally smooth and detailed prints with minimal layer lines. Resin printing offers superior surface quality but requires specialized equipment and post-processing techniques.
Regular Maintenance and Cleaning:
Nozzle Cleaning: Keep your printer’s nozzle clean and free from any debris or filament residue that could obstruct the flow of material. Regularly inspect the nozzle and perform routine cleaning to prevent clogs and ensure consistent extrusion.
Printer Enclosure: Consider enclosing your 3D printer to regulate temperature and humidity levels, particularly in environments prone to fluctuations. A stable printing environment can help mitigate the effects of thermal expansion and contraction, reducing the likelihood of layer lines.
Software Optimization:
Slicer Settings: Take advantage of advanced slicing software features to optimize print settings and minimize the visibility of layer lines. Experiment with parameters such as infill density, wall thickness, and print orientation to achieve the desired balance between speed and quality.
Support Generation: Fine-tune support generation settings to minimize the need for excessive supports, which can leave behind unsightly marks on the print surface. Utilize intelligent support algorithms to generate only essential support structures, reducing post-processing efforts.
Print Orientation and Orientation
Optimal Orientation: Carefully consider the orientation of your prints to minimize the visibility of layer lines and maximize surface quality. Orienting the object to minimize overhangs and maximize support contact points can help achieve smoother results.
Layer Alignment: Experiment with rotating the object along different axes to align layer lines with less conspicuous areas or geometric features. Strategic orientation can camouflage layer lines and enhance the overall aesthetic of the print.
Iterative Improvement
Test Prints: Conduct test prints and prototypes to evaluate the effectiveness of different settings and techniques in reducing layer lines. Use these experiments to iteratively refine your approach and achieve optimal results for each specific project.
Community Engagement: Tap into online forums, social media groups, and maker communities to share insights, seek advice, and learn from others’ experiences. Collaboration and knowledge sharing can accelerate your journey toward mastering layer line elimination.
Continued Learning and Experimentation
Stay Informed: Stay abreast of advancements in 3D printing technology, materials, and techniques through industry publications, conferences, and online resources. Embrace a mindset of continuous learning and experimentation to push the boundaries of what’s possible with Ender 3 3D printing.
Innovation and Creativity: Don’t be afraid to think outside the box and experiment with unconventional approaches to tackling layer lines. Innovation often arises from creative problem-solving and daring to explore new ideas.
Conclusion
In conclusion, achieving smoother 3D printing results free from layer lines requires a holistic approach encompassing meticulous calibration, thoughtful design considerations, and strategic post-processing techniques.
By incorporating the expert strategies outlined in this guide and maintaining a commitment to excellence, you can elevate the quality of your 3D prints and unlock new realms of creativity and innovation. Say goodbye to layer lines and hello to a future filled with flawless, professional-quality prints!
Hassan Khan
Hassan Khan is a leading voice when it comes to the innovative world of additive manufacturing. A mechanical engineer by training, Hassan quickly recognized the transformative potential of 3D printing, diving headfirst into the intricacies of printer design, filament research, and software optimization. At CrealityLovers.com, Hassan shares his profound knowledge, from insightful reviews and tutorials to forward-thinking op-eds that forecast the future of 3D printing. Hassan's commitment goes beyond the written word. Hassan Khan aims to empower every reader, from novices to industry experts, ensuring they make informed decisions in their 3D printing endeavors.