3D printing is an exceptional skill to have, and mastering the art of this skill is not an easy task. However, if you continue practicing and following the proper guidelines, you will become an expert sooner than you may have thought.
Creality ender 3, in this regard, has proved to be one of the best 3D printers for beginners in terms of user-friendliness and effectiveness.
Creality printer series not only cater to the needs of beginners, but also you will find Creality 3D printers the best for professional use.
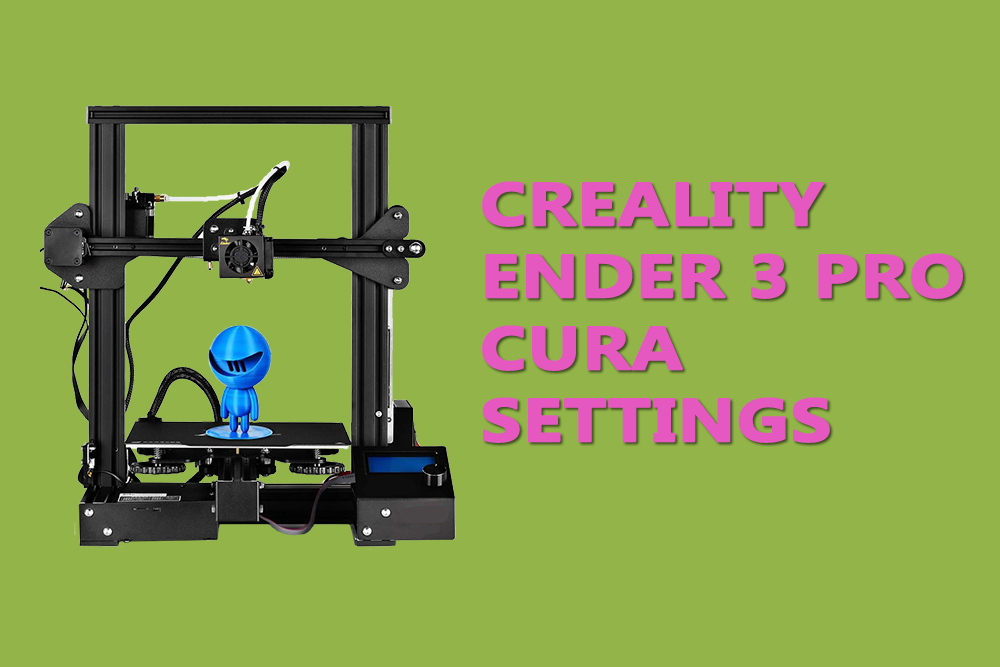
Among the series, Creality ender 3 pro is one of the well-known 3D printers considering the characteristics and features it holds.
Creality ender 3 pro is a modified version of ender 3, and thus it has enhanced functions and capabilities.
Above all, with Creality ender 3 pro, you enjoy the advanced features at an affordable cost, which otherwise you will find only in costly 3D printers.

Having a quality 3D printer is one thing and using it for the maximum benefit, and perfect output result is another.
There are certain other things on which the quality of the prints depends; one of the most important of them is slicing software.
It is the job of the slicing software to convert your 3D model design into a set of instructions a 3D printer can understand and work on.
Cura Slicing Software
There are many slicing software available, and you can choose any of them as per your requirement. As far as the Creality ender 3 pro is concerned, Cura slicing software is the most preferred choice to use.
Cura slicing software is open-source and is available free of cost for everyone. It features all related parameters and settings that will allow you to get the perfect quality 3D prints at the end.
When you use it with Creality ender 3 pro, one can imagine the output result. However, cura slicing software does not work for itself; you need to set the settings and profile to achieve the desired result according to your particular project.
As many of us uses Creality ender 3 pro, for that reason, to make sure that you get the best ultimate result, here in this article, we are going to highlight Creality ender 3 pro cura settings and will also inform you about the importance of it.
With knowing the accurate cura setting for the 3D printer, you will be able to achieve a quality result on the first try, and thus you will save resources, time, energy and above all, the cost.
It is, in every aspect, beneficial for you to know the correct cura setting for the Creality ender 3 pro.
Cura Setting For Creality Ender 3 Pro
The more accurate parameters of cura settings you set, the better result you will get in the end.
Below we are going to see some of the essential parameters that highly affect the printing quality, and we will see what should be the appropriate settings of it for Creality ender 3 pro 3D printer.
Hot end temperature
Among the first thing we will discuss here is the hot end temperature. Temperature plays a vital role in 3D printing; a slight change in its value creates a significant change in the overall quality of the end result.
If the temperature does not match with the requirement, it can result in under or over extrusion, and you will have to reprint your model with correct settings.
The sensitivity of the temperature mainly depends on the type of filament you use for your model.
When we talk about PLA filament, it needs at least 180-200 °C for smooth operation, whereas for ABS material, 220-250 °C is suitable.
On the other hand, the suitable temperature for PETG filament to be extruded smoothly goes around 220-245 °C.
Print bed temperature
Now comes the temperature of the print bed. Again, it mainly depends on the filament material because you can see that PLA filament does not necessarily require heating at the print bed.
However, it adds value to it, while on the contrary, ABS filament requires heating, and the appropriate temperature range for it is 110 °C. For PLA, 50 °C is good, and if you are using PETG filament, then 70 °C is perfect for it.
Print speed
After the temperature, printing speed is what needs to be adjusted to achieve good quality prints.
You need to tune it with the time and the details of the print you want to get because as you increase the speed, the quality will deteriorate.
You set the printing speed on the basis of the filament you are using and how much accuracy and quality you want to achieve.
When we talk about the PLA material, 50 to 65 mm/s is considered as appropriate, where you can start with 60 mm/s and can vary it as per the quality you want.
The same speed is suitable for ABS filament, but material with flexibility such as PETG requires a low speed of around 30 to 50 mm/s, and it can further be decreased if needed.
Layer height
Layer height is essential to set to achieve better resolution of the print. Layer height and print speed are interconnected, and it needs to adjust according to the time and the quality you want to attain.
For Creality ender 3 pro, you can start with 0.12 mm if you are going with slower speed and 0.20 mm with fast speed.
You can adjust it as per the condition; it is suggested for ender 3 pro that you should vary it with a factor of 0.04 mm check also ender 3 pro dimension.
Retraction
Retraction is the factor that defines the distance and the speed at which the extruder pulls back the filament. It is necessary to avoid overflow, wastage of filament and to avoid threading in prints.
In the beginning, it was hard to set these parameters, but if you know the filament type, you can set it accordingly.
For PLA, 6 mm distance and a speed of 25 mm/s is appropriate, and when we go for ABS, the distance should be the same as PLA, but speed can be increased to 40 mm/s.
Whereas, with PETG material, the distance of 4 mm with a speed of 25 mm/s is right for Creality ender 3 pro.
Bed adhesion
One other essential factor is bed adhesion, the first layer of the print is crucial, and it should stick to the print bed accurately; any fault in the first layer will result in a failed print at the end, wasting all resources and time.
To ensure that the first layer sticks to the bed perfectly, you can increase the layer height initially and also slow down the print speed that you have set. After the first layer, you can go back to your initial setting.
It can be seen that choosing the best setting depends on the filament type and the quality of the print you want to get.
The parameters as mentioned above are best suited for Creality ender 3 pro and will give you optimized results; you can change the setting as per your desire.

