What is bed leveling?
Bed leveling is the process of adjusting the height of your printer’s bed so that it is perfectly level with the nozzle. This is important because it ensures that each layer of your print is correctly aligned, resulting in a higher quality print.
Role of bed leveling in Creality CR-10s pro:
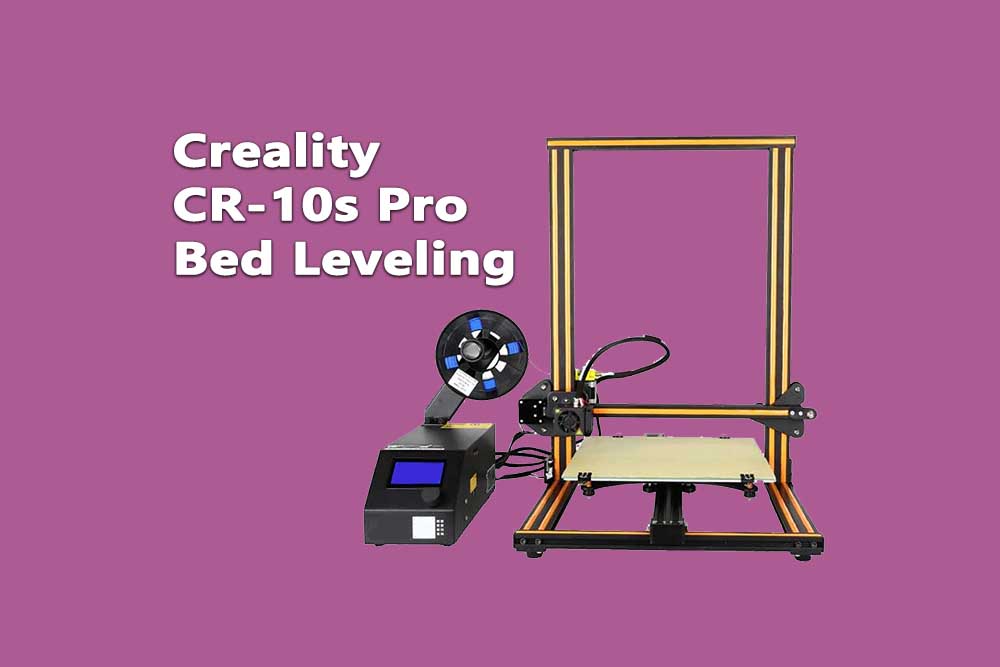
The Creality CR-10s pro is a great 3D printer, but it can be even better if you take the time to level its bed. Bed leveling is essential for ensuring good prints, and it’s something that you should do every time you start a print job. There are several ways to do this, but the most common is by using either adjustment screws or a leveling tool.

Types of bed leveling:
There are three main types of bed leveling: manual, automatic, and semi-automatic:
Manual bed leveling is the most basic type of bed leveling and is done by adjusting the height of your bed manually using screws or knobs. This is a simple process, but it can be time-consuming and it’s easy to make mistakes.
Automatic bed leveling is a more advanced type of bed leveling that uses sensors to automatically adjust the height of your bed. This is a great option if you want to avoid having to manually adjust your bed’s height, but it can be expensive and it’s not always accurate.
Semi-automatic bed leveling is a compromise between manual and automatic bed leveling. It allows you to manually adjust your bed’s height, but it also uses sensors to help ensure accuracy. This is a great option if you want the best of both worlds.
How to Level Your Creality CR-10S Pro:
There are several ways to level your printer’s bed. The most common method is by adjusting the screws on the four corners of the bed. Another method uses a calibration card or sticker which can be found online or at your local hardware store.
1. Begin by finding the two screws located on the front and back of the printer that adjust the height of the bed. Loosen these screws slightly using a screwdriver.
2. Next, find the screws on the corners of the bed that adjust the angle. Loosen these screws until they are just loose enough to move.
3. Slide the bed back and forth across the printer until it is in the center.
4. Tighten the screws on the front and back of the printer to adjust the height of the bed.
5. Adjust the screws on the corners of the bed to adjust the angle until the bed is level. You may need to tighten or loosen these screws several times to get it just right.
6. Finally, print a calibration square or grid from online and check that each corner of the square is touching each corner of the bed equally. If not, adjust the screws on the corners of the bed until they are.
Common problems of Bed leveling in Creality CR-10s pro:
There are a few common problems that can occur when leveling your printer’s bed. These problems include:
- The bed is not level: If the bed is not level, your prints will not be accurate. You can fix this by adjusting the screws on the corners of the bed until the bed is level.
- The bed is not parallel to the nozzle: If the bed is not parallel to the nozzle, your prints will be skewed. You can fix this by adjusting the screws on the sides of the bed until it is parallel to the nozzle.
- The nozzle is too high or low: If the nozzle is too high or low, your prints will be distorted. You can fix this by adjusting the screws on the front and back of the printer until the nozzle is at the correct height.
- The print head is not square to the bed: If the print head is not square to the bed, your prints will be skewed. You can fix this by adjusting the screws on the sides of the printer until the print head is square to the bed.
There are three main types of bed leveling: manual, automatic, and semi-automatic. Manual bed leveling is the most basic type of bed leveling and is done by adjusting the height of your bed manually using screws or knobs.
Automatic bed leveling is a more advanced type of bed leveling that uses sensors to automatically adjust the height of your bed.
FAQ’s:
1) What is bed leveling and why is it important?
Bed leveling is the process of making sure that your printer’s bed is level and parallel to the nozzle. This is important because it ensures that your prints are accurate and distortion-free.
2) How do I level my bed manually?
The most common way to level your bed manually is by using adjustment screws or a leveling tool. There are three main types of bed leveling: manual, automatic, and semi-automatic.
With manual bed leveling, you adjust the height of your bed manually using screws or knobs. Automatic bed leveling is a more advanced type of bed leveling that uses sensors to automatically adjust the height of your bed.
3) How do I level my bed automatically?
Automatic bed leveling is a more advanced type of bed leveling that uses sensors to automatically adjust the height of your bed. This is a great option if you want the best of both worlds.
4) What are the benefits of automatic bed leveling?
Automatic bed leveling has several benefits, including: accuracy, consistency, and reduced printing time. It also eliminates the need to manually adjust your bed’s height, which can be tricky and time-consuming.
5) What are the drawbacks of automatic bed leveling?
Automatic bed leveling does have a few drawbacks, including: higher cost, complexity, and potential for errors. It also requires more space than manual bed leveling.
6) How do I know if my printer’s nozzle is too high or low?
You can check to see if your printer’s nozzle is too high or low by printing a test square. If the square is distorted or skewed, your nozzle is likely too high or low.
7) Why are my prints distorted?
There are several reasons why your prints may be distorted, including: incorrect bed leveling, incorrect filament diameter, and incorrect extrusion multiplier.
8) How can I fix skewed prints?
The best way to fix skewed prints is by adjusting the height of your printer’s nozzle. You can do this manually or automatically using a sensor.

