In the world of 3D printing, precision and attention to detail are paramount. Hobbyists and professionals alike understand the significance of a well-organized and correctly wired 3D printer to ensure flawless prints.
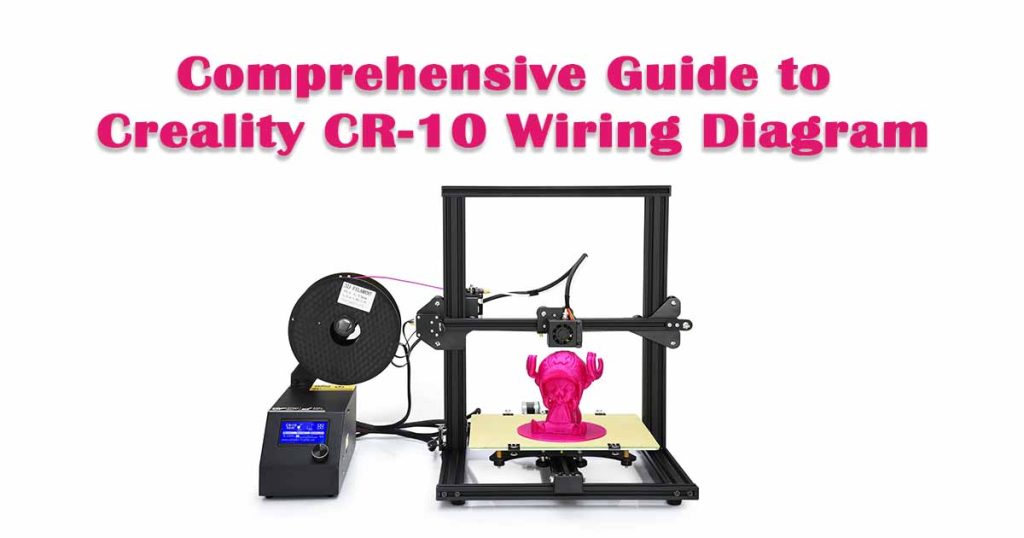
Among the many 3D printers on the market, the Creality CR-10 stands as a popular choice, celebrated for its affordability and quality. However, for users looking to harness the full potential of this machine, a crucial piece of the puzzle lies in understanding the Creality CR-10 wiring diagram.
Wires, circuits, and connectors may appear daunting to the uninitiated, but they are the lifelines of any 3D printer. The Creality CR-10 wiring diagram serves as a roadmap, guiding users through the intricate network of cables that power and control this remarkable machine.
Whether you’re a newcomer to the world of 3D printing or a seasoned enthusiast, deciphering this diagram is a valuable skill that can enhance your printing experience.
In this article, we embark on a journey to demystify the Creality CR-10 wiring diagram. We will break down its components, explore its intricacies, and provide you with the knowledge you need to confidently navigate and troubleshoot any wiring issues that may arise.
By the end of this exploration, you’ll be well-equipped to harness the full potential of your Creality CR-10 3D printer. So, let’s dive in and unlock the secrets of the Creality CR-10 wiring diagram, one wire at a time.
The Creality CR-10
Before delving into the wiring diagram, let’s take a moment to acquaint ourselves with the fascinating world of Creality Printing Technology. One noteworthy example of this cutting-edge technology is the Creality CR-10 3D printer. Crafted by Creality, a prominent and trusted name in the 3D printing sector, the CR-10 has garnered a dedicated and enthusiastic following within the maker community. For more detailed insights into Creality 3D printers and their reviews, you can explore the comprehensive information available on Creality Printing Technology. This valuable resource will provide you with a wealth of knowledge to enhance your understanding of Creality’s innovative 3D printing solutions.
It boasts a large build volume, ease of assembly, and compatibility with various materials, making it an excellent choice for both beginners and experienced users.
Properly understanding the wiring diagram is crucial for maintaining and upgrading your CR-10. It not only ensures safe and efficient operation but also opens up opportunities for customization and enhancements.
The Main Components
Let’s break down the essential components of the Creality CR-10 and understand their roles within the system before exploring the wiring diagram in detail.
Power Supply Unit (PSU)
The Power Supply Unit is the heart of your CR-10. It converts AC power from your wall outlet into the DC voltage required for the printer’s operation. The PSU delivers power to various components, including the mainboard, heated bed, and hotend.
Mainboard
The mainboard is the central control unit of your 3D printer. It interprets instructions from your 3D printing software (such as G-code) and controls the movements of the printer’s motors, temperature regulation, and other essential functions. It communicates with various components via wiring connections.
Stepper Motors
Stepper motors drive the motion of your 3D printer along the X, Y, and Z axes. They receive instructions from the mainboard and turn in precise increments, allowing for accurate positioning of the print head and build platform.
Heated Bed
The heated bed is responsible for maintaining a consistent and elevated temperature on the build surface. This is crucial for preventing warping and ensuring proper adhesion of the printed object to the platform.
Hotend and Extruder
The hotend and extruder work together to melt and extrude filament onto the build platform. The hotend heats the filament to its melting point, while the extruder pushes it through a nozzle to create the 3D-printed object layer by layer.
Endstops and Limit Switches
Endstops and limit switches are sensors placed at the printer’s extremities to prevent over-travel and crashes. They help ensure the printer’s safety by stopping movements when necessary.
Creality CR-10 Wiring Diagram Overview
The Creality CR-10 Wiring Diagram is a vital resource for 3D printing enthusiasts and makers alike. This comprehensive diagram provides a detailed overview of the electrical connections within the Creality CR-10 3D printer, shedding light on its intricate wiring system.
From the power supply unit to the stepper motors and hotend, every component’s wiring is meticulously illustrated, making it an indispensable tool for troubleshooting, maintenance, and customization.
For those new to the world of 3D printing, the diagram offers a valuable educational resource, helping users understand how the various components work together to bring their designs to life. Additionally, it serves as a safety reference, ensuring that the printer is wired correctly to prevent accidents and equipment damage.
In essence, the Creality CR-10 Wiring Diagram is more than just a technical drawing; it’s a roadmap to unlocking the full potential of your 3D printer, whether you’re a beginner or a seasoned maker.
Power Connections
Starting with the power supply unit (PSU), you’ll notice lines leading to the mainboard, heated bed, and hotend. These connections provide power to these crucial components. It’s essential to ensure secure and proper connections to avoid electrical issues.
Stepper Motor Connections
Wires from the mainboard extend to each stepper motor for the X, Y, and Z axes. Properly identifying and connecting these wires is vital for the printer’s correct movement.
Temperature Sensors
The temperature sensors on the heated bed and hotend connect to the mainboard, allowing it to monitor and regulate temperature. Any issues with these connections could result in incorrect temperature readings or instability during printing.
Endstops and Limit Switches
The endstops and limit switches are connected to the mainboard and serve as safety features to prevent the printer from crashing into its extremities. Check these connections to ensure they are functioning correctly.
Extruder and Hotend
Wires from the mainboard connect to the extruder and hotend. These connections control the extrusion of filament and the temperature of the hotend, crucial for successful 3D printing.
Tips for Wiring Your Creality CR-10
Now that you understand the key components and have seen the wiring diagram, here are some tips to ensure your CR-10 is wired correctly and optimally:
Organize Your Wiring
One of the most critical aspects of wiring your CR-10 is to maintain a clean and organized setup. Neatly arrange your cables to prevent tangling, interference, or accidental disconnects during printing. Cable management accessories like cable ties and clips can be highly beneficial.
Secure Connections
Double-check all connections to ensure they are secure and properly seated. Loose connections can lead to erratic behavior and potentially damage components. Inspect connector pins for any signs of damage or wear.
Use Strain Relief
Implement strain relief for wires connected to moving parts, such as the heated bed and hotend. This prevents excessive bending or tugging, reducing the risk of wires becoming damaged over time.
Label Wires
Consider labeling your wires with adhesive tags or colored tape to make future troubleshooting or upgrades more manageable. Properly labeled wires will save you time and frustration.
Keep Heated Bed Wiring Neat
The heated bed wires can be subjected to a lot of movement during printing. Use cable chains or sleeving to protect and organize these wires, reducing wear and tear over time.
Regular Maintenance
Perform regular maintenance checks on your wiring to catch any issues early. This includes checking for loose connections, damaged wires, or signs of overheating.
Troubleshooting Common Wiring Issues
Despite your best efforts, you may encounter wiring-related problems with your CR-10. Here are some common issues and how to address them:
Loose Connections
If you experience intermittent electrical issues, check for loose connections. Re-seat any loose connectors, and consider adding a small amount of electrical tape or hot glue for added security.
Burnt or Melted Wires
Burnt or melted wires are a sign of overheating. Inspect the affected wires and connectors for damage. Replace any damaged components and ensure they are correctly sized for the current they will carry.
Erratic Movements
If your printer exhibits erratic movements, it could be due to faulty stepper motor connections. Double-check that the wires are correctly connected and that the stepper motor drivers on the mainboard are properly configured.
Temperature Fluctuations
Inconsistent temperature readings or fluctuations can be caused by faulty temperature sensor connections. Inspect the sensor wires, connectors, and sensor components for any issues.
Conclusion
In conclusion, the Creality CR-10 Wiring Diagram is an invaluable resource for 3D printing enthusiasts and hobbyists alike. This comprehensive guide provides a clear and detailed roadmap for assembling and wiring this popular 3D printer, ensuring that even those new to the world of 3D printing can confidently set up their CR-10.
The wiring diagram not only simplifies the installation process but also enhances safety by minimizing the risk of electrical mishaps. With its user-friendly layout and labeled components, it empowers users to troubleshoot and make necessary adjustments with ease.
Moreover, the availability of online resources and community support means that users can seek guidance and share their experiences with fellow CR-10 enthusiasts. As the 3D printing landscape continues to evolve, having access to a well-structured wiring diagram like the one provided by Creality ensures that your CR-10 will be up and running smoothly, bringing your creative 3D printing projects to life.
Hassan Khan
Hassan Khan is a leading voice when it comes to the innovative world of additive manufacturing. A mechanical engineer by training, Hassan quickly recognized the transformative potential of 3D printing, diving headfirst into the intricacies of printer design, filament research, and software optimization. At CrealityLovers.com, Hassan shares his profound knowledge, from insightful reviews and tutorials to forward-thinking op-eds that forecast the future of 3D printing. Hassan's commitment goes beyond the written word. Hassan Khan aims to empower every reader, from novices to industry experts, ensuring they make informed decisions in their 3D printing endeavors.