The fascination with dinosaurs has captured the imagination of people for generations. From movies to museums, these magnificent creatures evoke a sense of wonder and curiosity. In recent years, the rise of 3D printing technology has opened new avenues for enthusiasts, educators, and hobbyists to bring dinosaurs back to life, quite literally. Among the most exciting developments is the creation of articulating dinosaur models through 3D printing. This blog post will explore what articulating dinosaur 3D prints are, how they are made, their applications, and tips for creating your own.
What Are Articulating Dinosaur 3D Prints?
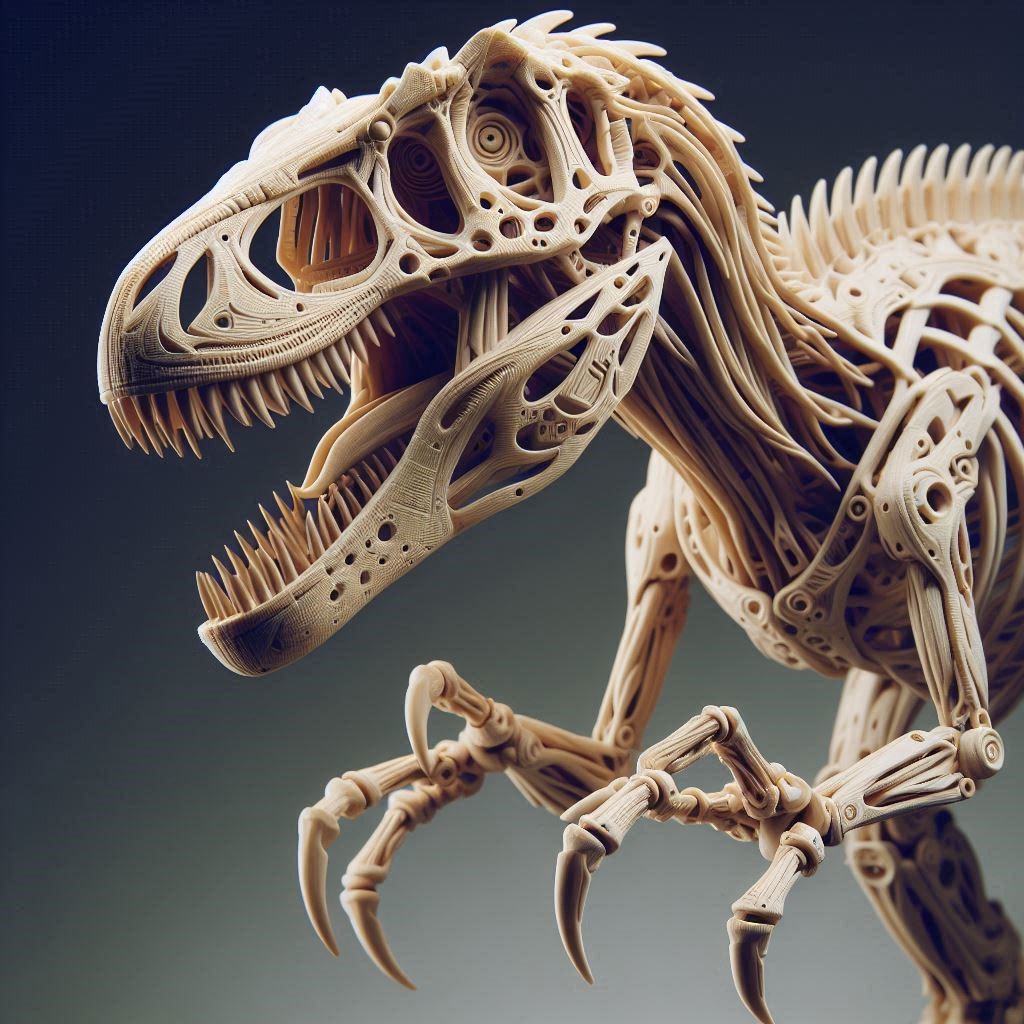
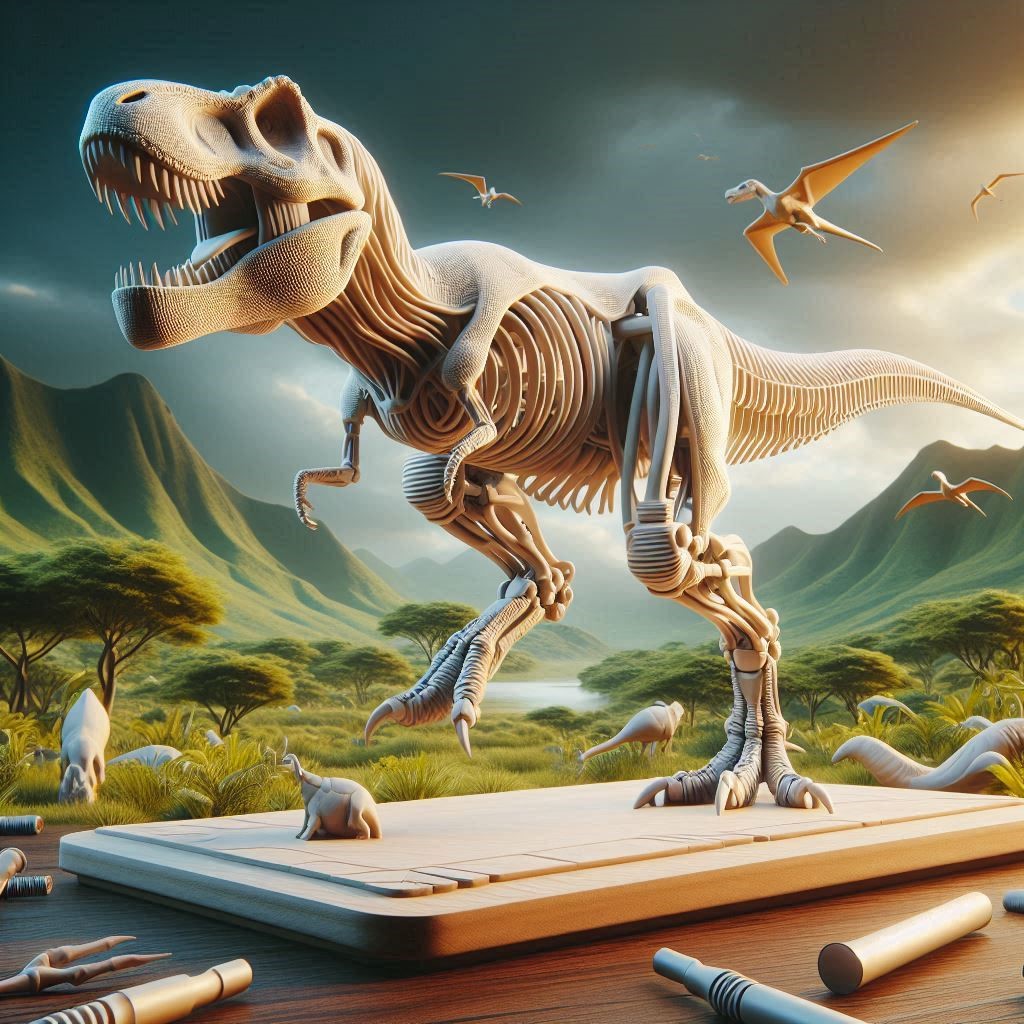
Articulating dinosaur 3D prints are models designed to mimic the skeletal structure and movement of real dinosaurs. These models are created with joints that allow various parts of the dinosaur, such as the limbs and neck, to move. This feature adds an interactive element that enhances the educational and artistic value of the model. Articulating dinosaur prints can range from simple designs aimed at children to highly detailed and complex structures intended for collectors and educators.
Key Features of Articulating Dinosaur Models
- Joints and Movement: Articulating models typically include joints that allow the limbs and head to move. This design feature provides a more dynamic representation of the dinosaur’s anatomy.
- Realistic Design: Many articulating dinosaur prints are crafted with attention to detail, mimicking the textures and features of real dinosaurs. This can include scales, feathers, and other physical characteristics based on the latest paleontological research.
- Customizable: One of the great advantages of 3D printing is the ability to customize designs. Users can alter the size, color, and details of the dinosaur model, making each print unique.
The Process of Creating Articulating Dinosaur 3D Prints
Creating articulating dinosaur models involves several steps, from design to printing. Here’s an overview of the process:
1. Designing the Model
The first step in creating an articulating dinosaur model is designing the 3D model. This can be done using software such as Blender, Tinkercad, or Autodesk Fusion 360. Here are some key considerations during the design phase:
- Anatomical Accuracy: Incorporate accurate anatomical features based on scientific research. This may involve studying existing dinosaur skeletons or consulting with paleontologists.
- Joint Placement: Plan where the joints will be placed to allow for realistic movement. Common joint types include ball-and-socket joints for limbs and hinge joints for the jaw.
- Customization Options: Consider including customizable elements, such as different textures or colors, to cater to various preferences.
2. Slicing the Model
Once the design is complete, the next step is to prepare the model for 3D printing. This is done using slicing software, which converts the 3D model into layers and generates the G-code that the 3D printer will follow. Important settings to consider include:
- Layer Height: A smaller layer height results in a smoother finish but takes longer to print.
- Infill Density: Determine how solid you want the model to be. A higher infill density provides durability but increases material usage.
- Supports: Depending on the complexity of the design, you may need to add support structures to ensure that overhangs and intricate details are printed correctly.
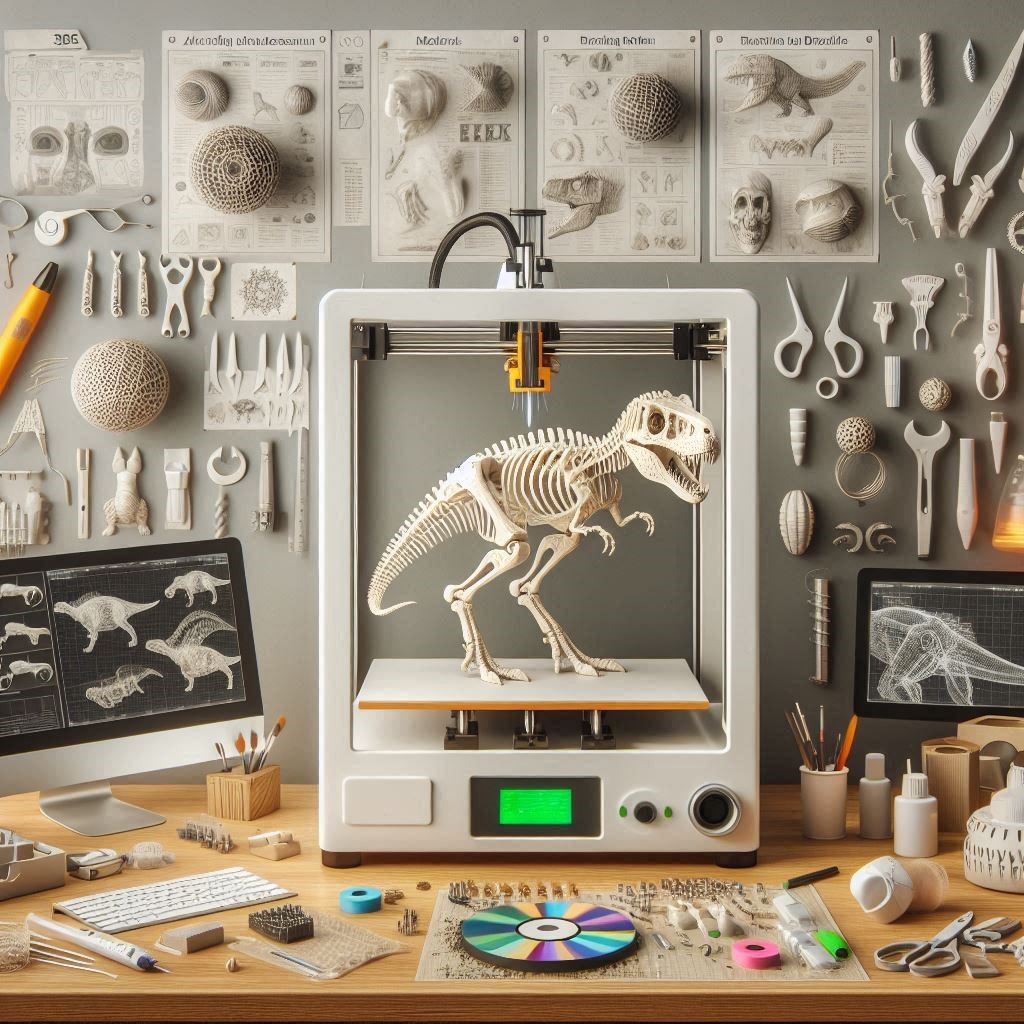
3. 3D Printing the Model
With the sliced model ready, it’s time to print! Depending on your printer type (FDM, resin, etc.), this process may vary:
- Material Choice: Select appropriate materials. PLA is popular for beginners due to its ease of use, while ABS and PETG offer greater durability.
- Printer Settings: Ensure that your printer settings match the specifications from your slicing software.
- Monitoring: Keep an eye on the print process, especially for larger models. This helps catch any issues early, such as layer adhesion problems or filament jams.
4. Post-Processing
After printing, some post-processing may be required:
- Support Removal: If you used supports, carefully remove them using pliers or cutting tools.
- Sanding and Smoothing: Sand the model to smooth any rough edges or surfaces, especially around the joints.
- Painting and Detailing: Enhance the model’s appearance by painting it or adding textures. Use acrylic paints or airbrush techniques for best results.
5. Assembling the Model
If the dinosaur was printed in multiple parts, assemble it by connecting the joints. Use glue if necessary, but ensure that the joints remain functional. A little lubrication may help the joints move smoothly.
Applications of Articulating Dinosaur 3D Prints
The versatility of articulating dinosaur models means they can serve multiple purposes across various fields:
1. Education
Articulating dinosaur models are excellent tools for educators. They provide a tactile way to teach students about paleontology, anatomy, and evolution. Models can be used in classrooms or museums to engage visitors with interactive displays.
2. Hobbies and Collecting
Dinosaur enthusiasts and collectors can create unique, customized models for their collections. Articulating models offer an engaging way to showcase craftsmanship and creativity.
3. Animation and Film
Artists and filmmakers can use articulating dinosaur models for stop-motion animation. The ability to pose and move the models makes them ideal for bringing stories to life.
4. Scientific Research
Researchers can use these models to study dinosaur movement and behavior, providing insights into how these creatures may have lived millions of years ago.

Tips for Successful Articulating Dinosaur 3D Prints
Creating articulating dinosaur models can be a rewarding yet challenging process. Here are some tips to help ensure your success:
1. Start Simple
If you’re new to 3D printing, start with simpler designs before moving on to more complex articulating models. This will help you learn the basics of modeling and printing.
2. Use Online Resources
Take advantage of online resources, such as tutorials and forums, to enhance your skills. Websites like Thingiverse offer pre-made models that you can modify or use for inspiration.
3. Invest in Quality Equipment
While it’s possible to start with basic equipment, investing in a quality 3D printer and materials can significantly improve the quality of your prints.
4. Experiment with Different Materials
Don’t hesitate to experiment with various materials to find what works best for your designs. Different materials can yield unique finishes and strengths.
5. Join a Community
Engage with 3D printing communities online or locally. Sharing your work and receiving feedback can help you grow as a creator and learn from others’ experiences.
Conclusion
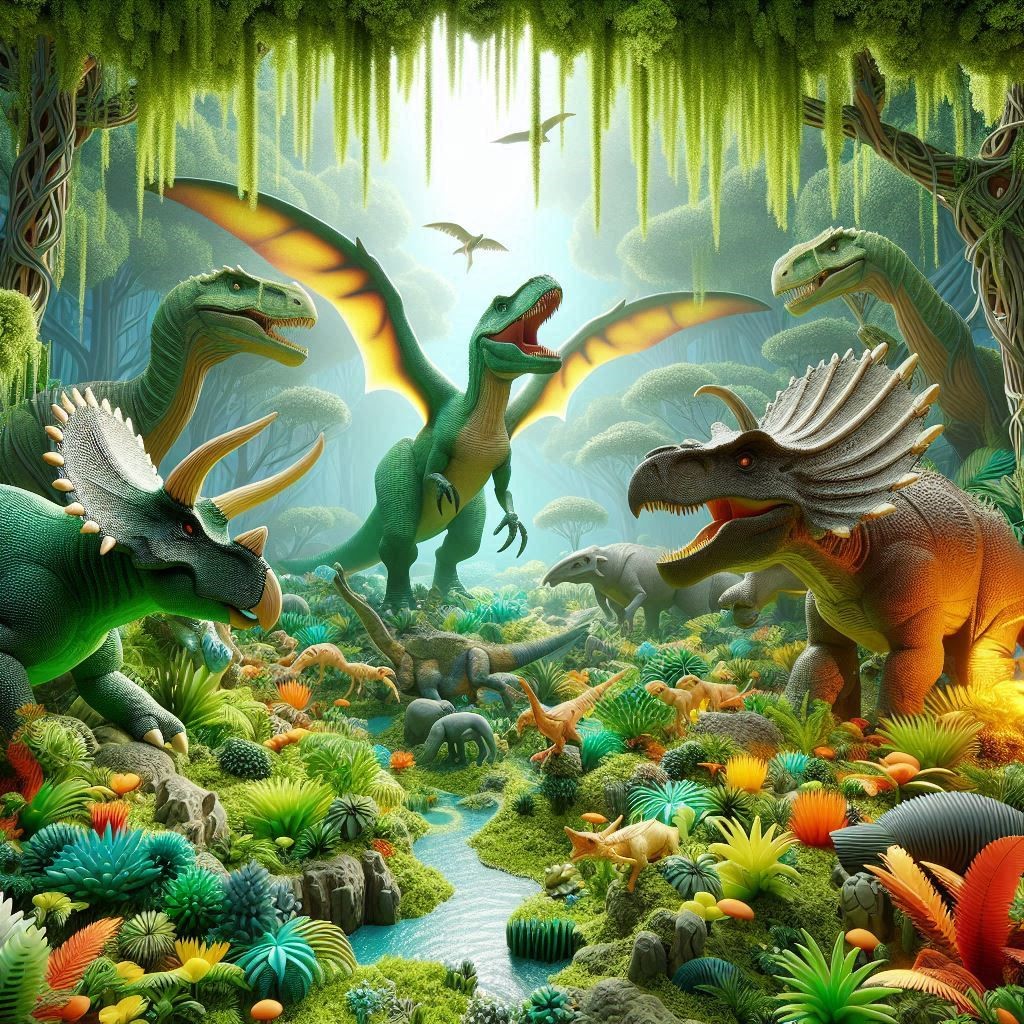
Articulating dinosaur 3D prints bridge the gap between ancient history and modern technology, offering enthusiasts a unique way to engage with the past. From the initial design phase to the final assembly, the process is a blend of creativity and technical skill. Whether for educational purposes, artistic expression, or simply for fun, these models bring the awe of dinosaurs to life in a tangible way. So, unleash your imagination, grab your 3D printer, and embark on a journey to create your very own articulating dinosaur masterpiece!
Hassan Khan
Hassan Khan is a leading voice when it comes to the innovative world of additive manufacturing. A mechanical engineer by training, Hassan quickly recognized the transformative potential of 3D printing, diving headfirst into the intricacies of printer design, filament research, and software optimization. At CrealityLovers.com, Hassan shares his profound knowledge, from insightful reviews and tutorials to forward-thinking op-eds that forecast the future of 3D printing. Hassan's commitment goes beyond the written word. Hassan Khan aims to empower every reader, from novices to industry experts, ensuring they make informed decisions in their 3D printing endeavors.