What is cura setting?
Cura is a slicing software that turns 3D models into instructions that your printer understands. It makes the process of preparing 3D printing files much simpler and faster, while also giving you more control over the final print.
Cura setting in Creality CR-10s:
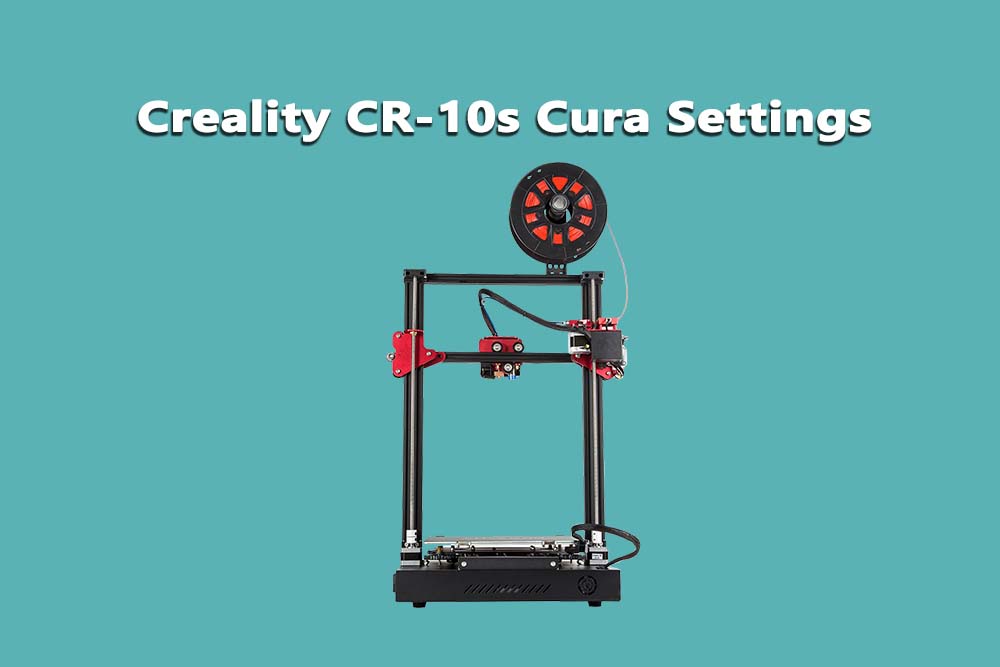
The default slicing software for the Creality CR-10s is Cura. This is a great slicer that works well with the CR-10s and produces high quality prints.
However, there are a few things that you can do to optimize your prints even further. In this article we will go over the best Cura settings for the Creality CR-10s.

We will cover the following topics:
Bed Leveling
Nozzle Calibration
Print Speed
Infill %
Support Structures
Retraction Settings
1) Bed Leveling:
One of the most important things you can do to improve your prints is to make sure your bed is level. If your bed is not level, your prints will not adhere properly and you will get poor results.
The CR-10s has an auto-leveling feature that makes bed leveling a breeze. However, you still need to make sure that your bed is level before you start printing.
To do this, you can use a sheet of paper or a feeler gauge to measure the distance between the nozzle and the bed. Adjust the leveling screws until the gap is even all the way around.
2) Nozzle Calibration:
Another important setting is nozzle calibration. This ensures that your extruder is extruding the correct amount of filament.
If your extruder is not calibrated correctly, your prints will be either too thin or too thick.
To calibrate your extruder, you can use a calibration cube. This is a simple object that you can print to test the accuracy of your extruder.
You can find the calibration cube STL file here.
Once you have printed the cube, measure the walls to see if they are all the same thickness. If not, adjust your extrusion multiplier until they are.
3) Print Speed:
The next setting we will look at is print speed. The CR-10s has a maximum print speed of 200mm/s. However, this does not mean that you should always print at this speed.
In general, you want to print as fast as possible without sacrificing quality. The best way to find the right balance is to experiment.
Start with a low print speed and gradually increase it until you start seeing defects in your prints. Then, back off a bit and you should be good to go.
4) Infill %:
The infill % is the amount of material that is used to fill in the empty space inside your model. For example, if you have a model that is 50% infill, that means that half of the model is solid material and half is empty space.
The infill % can be adjusted to save time and filament. In general, you want to use the minimum amount of infill necessary to get a strong print.
For most applications, 20-30% infill should be sufficient.
5) Support Structures:
The next setting we will look at is support structures. Support structures are used to prop up parts of your model that would otherwise be unsupported.
For example, if you were printing a model of a vase, the walls of the vase would need support structures to prevent them from collapsing.
Support structures can be printed using either PLA or ABS filament. However, PLA is much easier to remove and has less of a tendency to warp.
To add support structures in Cura, simply select the “Add Support” option in the menu. Then, select the type of support you want to use and how much infill you want it to have.
6) Retraction Settings:
The next setting we will look at is retraction. Retraction is the process of pulling filament back into the extruder to prevent stringing.
Stringing occurs when filament oozes out of the nozzle while the extruder is moving to a new location. This can ruin your print and make it look messy.
To combat this, you need to enable retraction in Cura. To do this, go to the “Extrusion” tab and enable the “Retract on tool change” option.
Then, adjust the “Retraction distance” and “Retraction speed” settings until you are happy with the results.
Of course, every 3D printer is different and you may need to experiment a bit to find the perfect settings for your machine.
Nonetheless, these settings should give you a good starting point.
FAQ’s:
Q: What is the best bed surface for the CR-10s?
A: The best bed surface for the CR-10s is glass. Glass provides a smooth, flat surface for your prints and prevents them from warping.
Q: What is the maximum print speed of the CR-10s?
A: The maximum print speed of the CR-10s is 200mm/s. However, this does not mean that you should always print at this speed. In general, you want to print as fast as possible without sacrificing quality.
The best way to find the right balance is to experiment. Start with a low print speed and gradually increase it until you start seeing defects in your prints. Then, back off a bit and you should be good to go.
Q: What is the best infill % for the CR-10s?
A: The best infill % for the CR-10s is 20-30%. This provides a good balance between strength and weight.
Q: Does the CR-10s need support structures?
A: The CR-10s does not need support structures if you are careful with your design. However, if you are printing complex models or models with overhangs, support structures may be necessary.
Q: What is the best retraction setting for the CR-10s?
A: The best retraction setting for the CR-10s is 0.4mm. This provides a good balance between stringing and material waste.
Q: What are the best Cura settings for the Creality CR-10s?
A: The best Cura settings for the Creality CR-10s are as follows:
- Nozzle size: 0.4mm
- Layer height: 0.2mm
- Infill %: 20-30%
- Support structures: As needed
- Retraction distance: 0.4mm
- Retraction speed: 30mm/s
- Print speed: As fast as possible without sacrificing quality
- Bed surface: Glass
These settings should give you a good starting point for printing with the CR-10s. However, every 3D printer is different and you may need to experiment a bit to find the perfect settings for your machine.

