The Creality Ender 3 Pro has become one of the most popular 3D printers for hobbyists, enthusiasts, and even professionals due to its affordability, reliability, and ease of use. One of the most critical steps in ensuring a high-quality print is achieving proper bed leveling. If the bed is not level, the nozzle will be either too close or too far from the print bed, leading to poor adhesion, inaccurate prints, or even nozzle clogging.
In this blog post, we’ll take you through everything you need to know about bed leveling for the Creality Ender 3 Pro. Whether you’re new to 3D printing or have been using your printer for some time, mastering bed leveling is essential for achieving consistent and high-quality prints.
What is Bed Leveling?
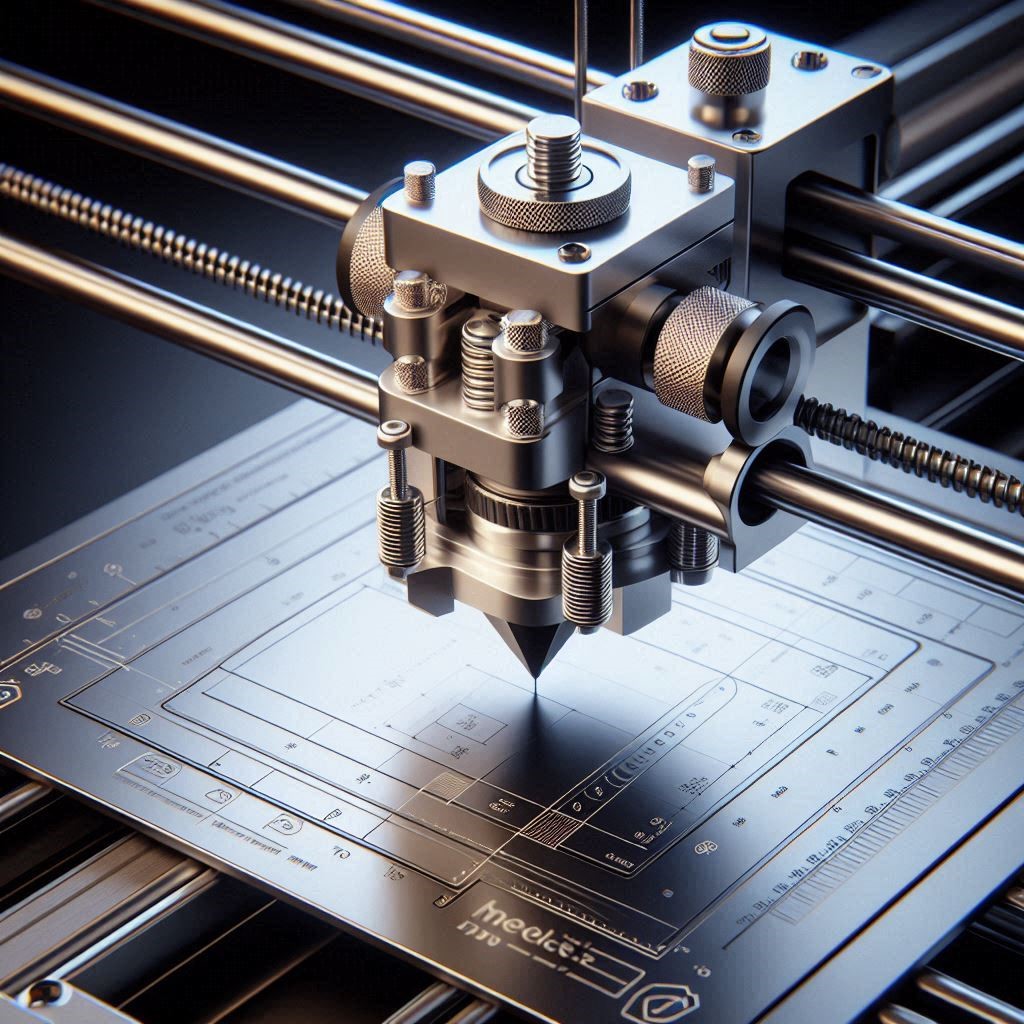
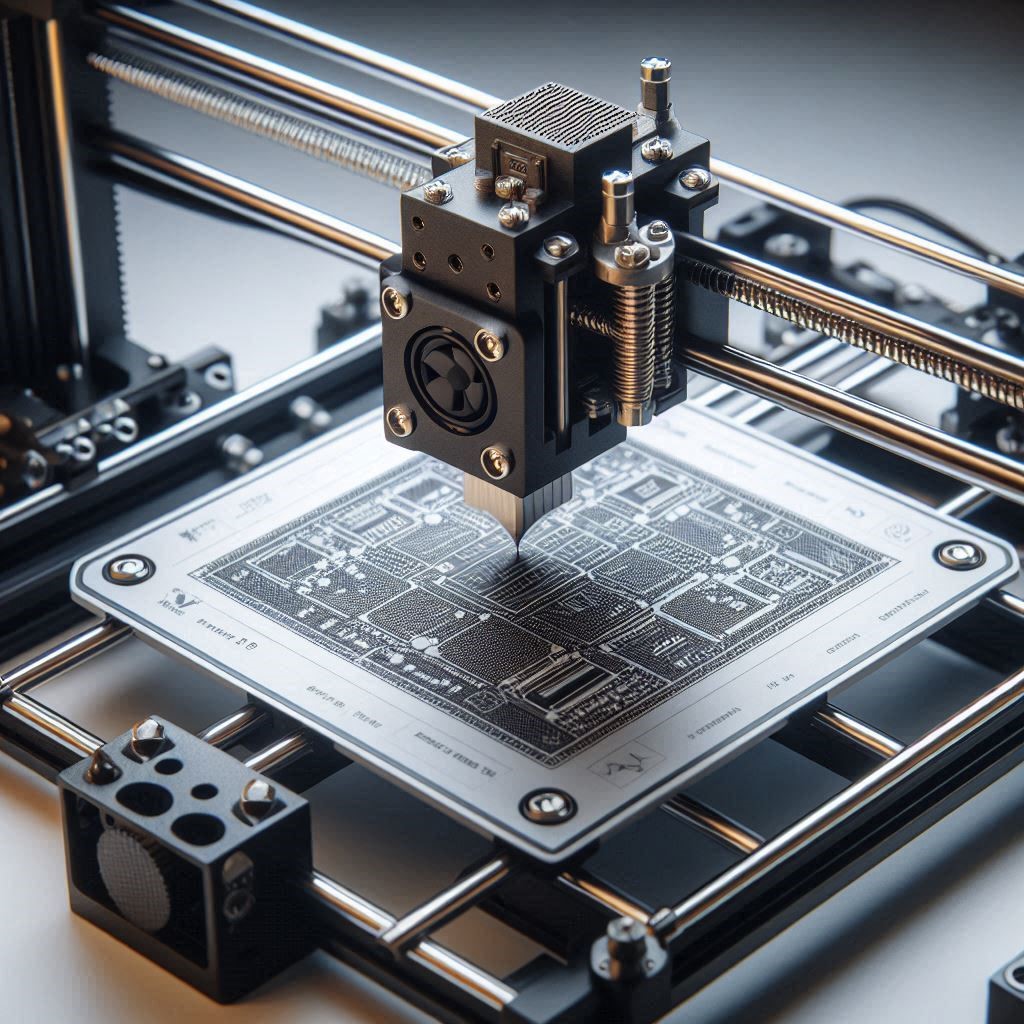
Bed leveling refers to the process of ensuring that the distance between the print bed and the 3D printer nozzle is consistent across the entire print surface. The nozzle needs to be at the correct height from the bed for optimal material extrusion, and a slight variation in this distance can cause several issues, such as:
- Poor first layer adhesion
- Warping of prints
- Uneven extrusion
- Inconsistent layer bonding
- Print failure
Proper bed leveling is a necessary first step before starting any print job, as it ensures the printer can produce high-quality models with reliable results.
Why is Bed Leveling Important for the Creality Ender 3 Pro?
The Ender 3 Pro has a relatively large print bed (220 x 220 mm), which increases the need for careful bed leveling to ensure an even printing surface. Unlike high-end 3D printers that feature auto bed leveling (ABL), the Ender 3 Pro relies on manual bed leveling. While it might seem like a tedious task at first, mastering this process ensures optimal results and is one of the most rewarding aspects of 3D printing.
Tools You’ll Need for Bed Leveling
Before you begin leveling the bed on your Ender 3 Pro, you’ll need a few basic tools and accessories:
- A sheet of paper – This is commonly used to measure the gap between the nozzle and the bed.
- A 2mm hex wrench – Typically used to adjust the bed leveling screws.
- A calibration print (optional) – Some users choose to print a small test object to ensure proper leveling once the bed is calibrated.
Steps for Manual Bed Leveling on the Ender 3 Pro
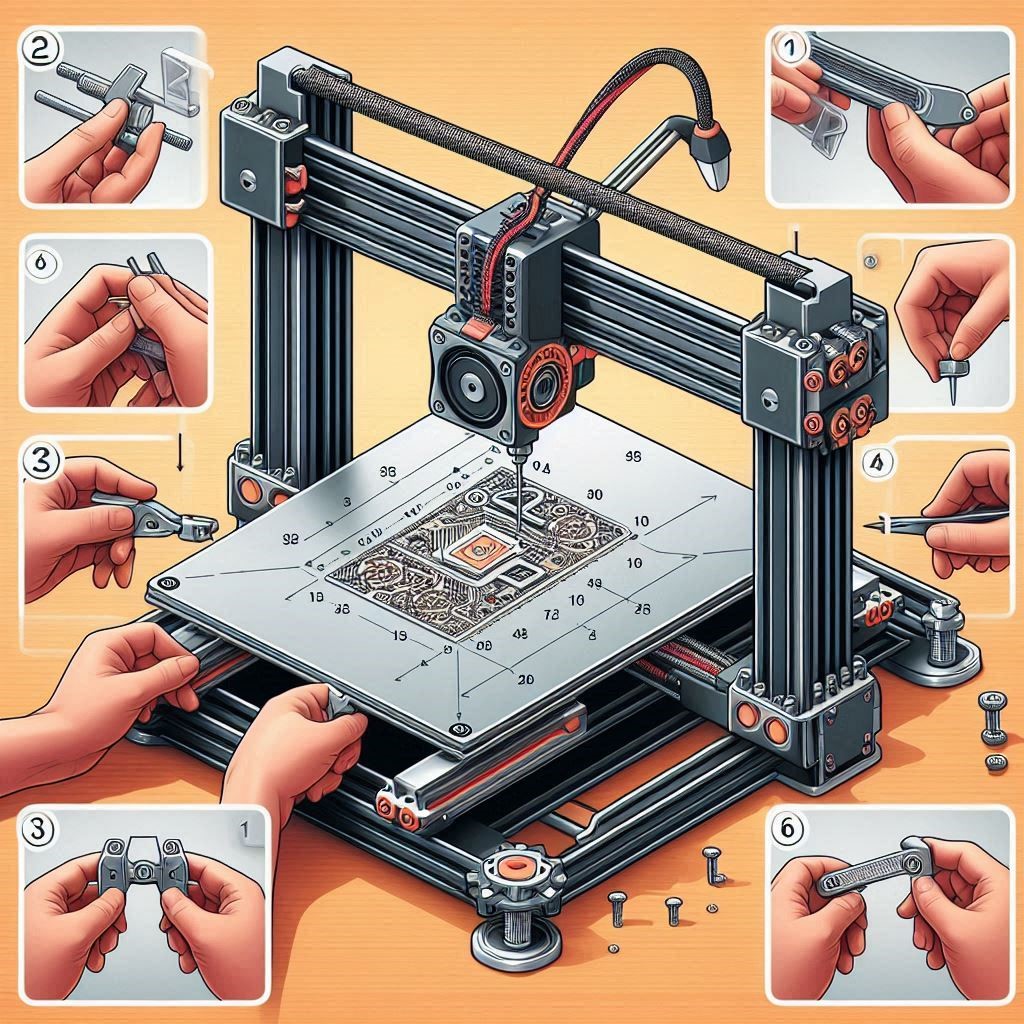
Now let’s walk through the step-by-step process of leveling your Creality Ender 3 Pro bed.
Step 1: Preheat the Printer
Before you begin the leveling process, it’s essential to preheat the bed and the extruder nozzle to printing temperatures. This ensures that the materials expand and contract, giving you a more accurate representation of how the printer will behave during actual printing.
1. From the printer’s screen, navigate to Control > Preheat and select the appropriate temperatures for the bed and extruder (e.g., 60°C for the bed and 200°C for PLA filament).
2. Wait for the bed and nozzle to reach the set temperatures. This step is crucial, as the bed leveling can change depending on whether the components are cold or hot.
Step 2: Move the Nozzle to the Corner
The next step is to move the nozzle to each of the four corners of the bed. These are the areas where you will be adjusting the height to ensure a consistent gap across the entire print surface.
1. From the printer’s main menu, go to Prepare > Move Axis > Move Z and select 0.1mm increments.
2. Move the nozzle to the first corner of the bed (usually the front-left corner).
3. Use the Move X/Y controls to adjust the position of the nozzle as needed, ensuring it’s at the corner of the bed.
Step 3: Adjust the Bed Leveling Screws
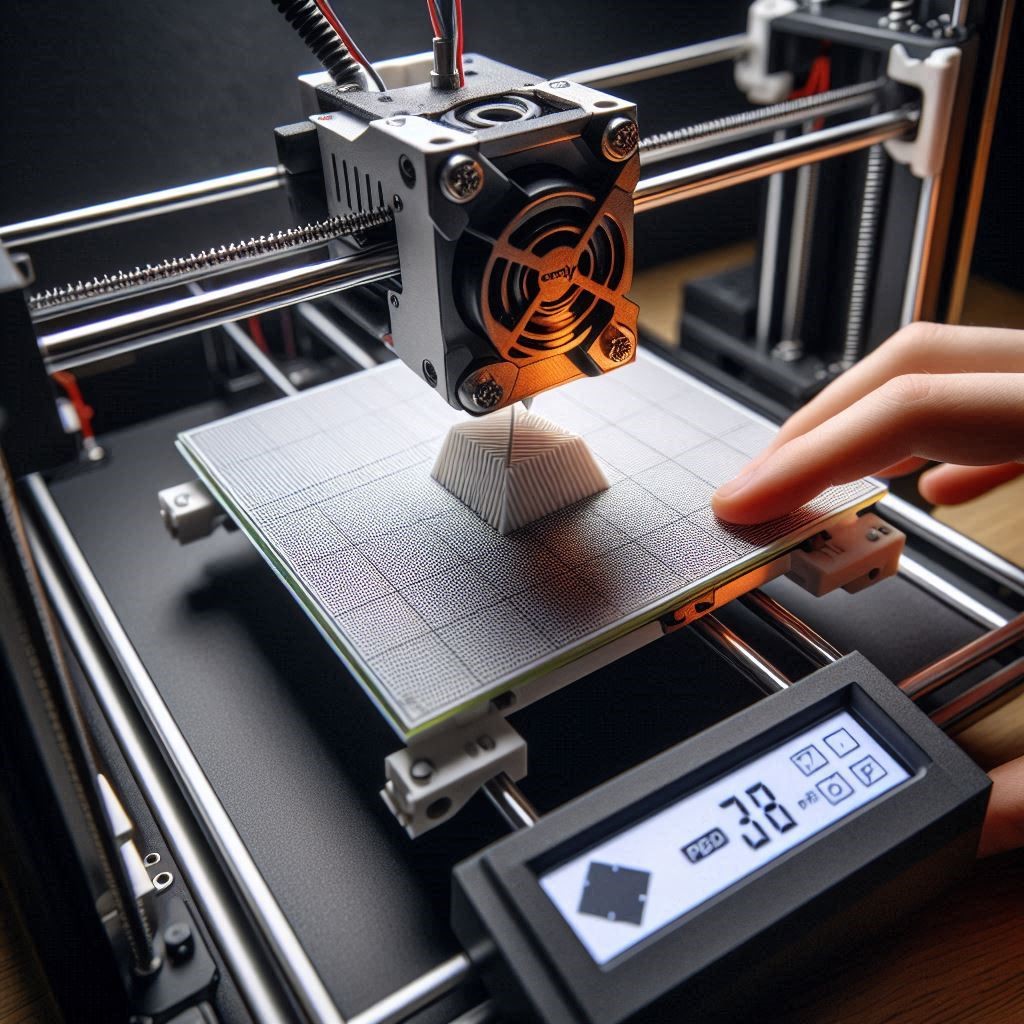
Now that the nozzle is in position, you can start adjusting the bed leveling screws. The Ender 3 Pro features three screws—one at each corner of the bed. The goal is to adjust the distance between the nozzle and the bed so that it is consistent across all areas.
Here’s how to adjust the screws:
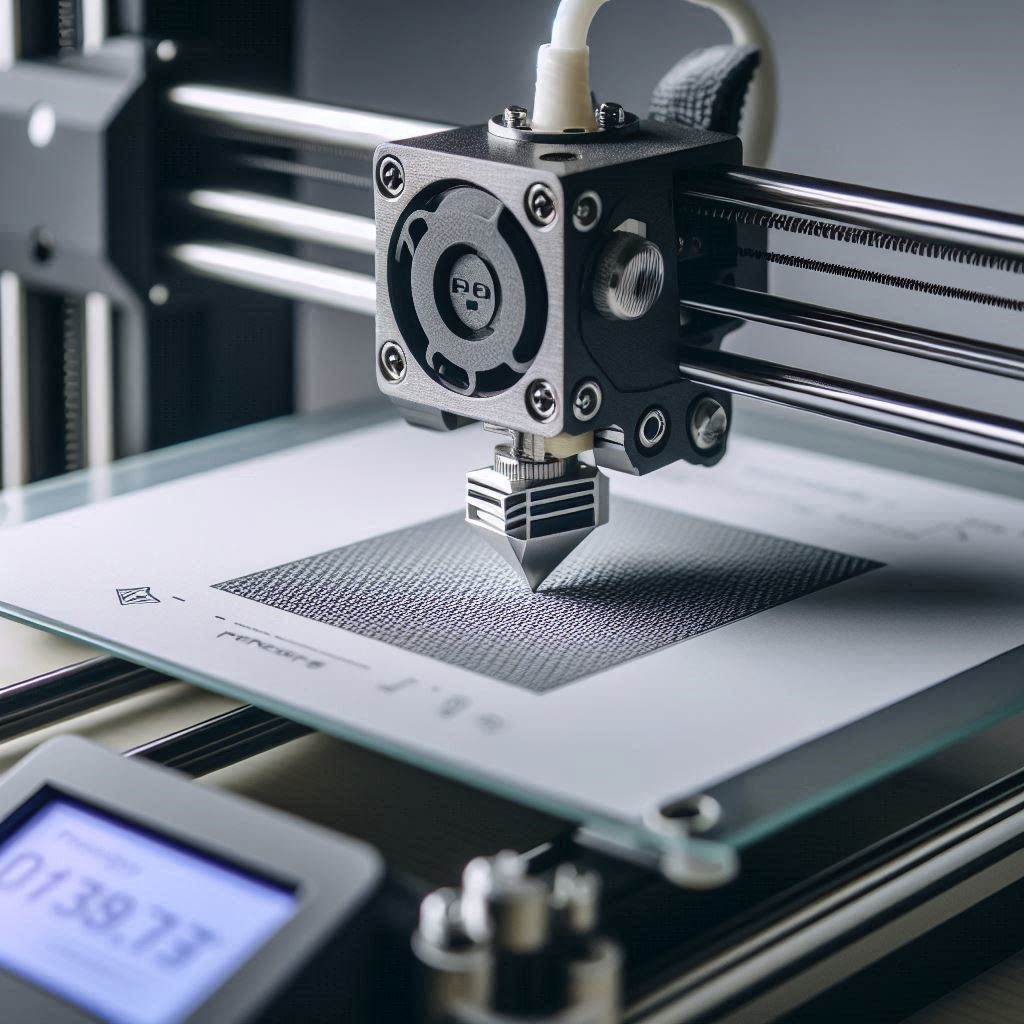
1. Place a piece of paper between the nozzle and the print bed.
2. Slowly move the nozzle down by using the Move Z controls until the nozzle is just above the paper.
3. Adjust the bed leveling screw at that corner so that the nozzle is close to the paper, but not pressing against it.
4. Repeat this process for the other two corners and the center of the bed.
The paper should have a slight resistance when moved between the nozzle and the bed. You want to make sure the paper slides with a bit of friction, indicating that the nozzle is at the right distance from the bed.
Step 4: Check and Recheck
After adjusting all four corners, it’s essential to go around the bed once more to double-check your work. Revisit each corner and adjust the screws as necessary. Even slight adjustments can make a significant difference.
Once you’re satisfied with the leveling, move the nozzle to the center of the bed and ensure it’s at the right height. If needed, adjust the screws again for optimal consistency across the print surface.
Step 5: Test with a Calibration Print
It’s always a good idea to print a small calibration object, such as a first layer test pattern or a bed leveling test print, to confirm that the bed is correctly leveled. These test prints typically consist of a series of concentric circles or lines that help you visually inspect whether the extrusion is consistent.
- If the first layer adheres well to the bed and is smooth across the entire surface, the leveling is good.
- If you notice gaps or unevenness in the print, you may need to adjust the bed slightly and test again.
Tips for Maintaining Bed Leveling
Achieving a properly leveled bed on the Ender 3 Pro is not a one-time task. Over time, you might need to relevel the bed due to temperature fluctuations, mechanical shifts, or other factors. Here are some tips for maintaining consistent bed leveling:
- Perform leveling regularly: As your printer gets used over time, small shifts in the bed may occur. It’s good practice to check the leveling before every print session.
- Keep the bed clean: Any dust, grease, or debris on the print bed can affect adhesion and leveling. Make sure to clean the surface before starting the leveling process.
- Use a bed leveling guide: Some users recommend using a bed leveling guide, such as a printed paper guide, which can help you achieve even more accurate results by providing a consistent reference for the nozzle height.
- Tighten bed screws carefully: Tighten the screws snugly, but avoid overtightening, which can lead to warped or damaged bed surfaces.
- Use a leveling tool: If you find the manual process cumbersome, consider using third-party leveling tools such as the Creality BLTouch (an automatic bed leveling sensor) for greater convenience and precision.
Conclusion
Bed leveling is one of the most crucial aspects of getting the best performance from your Creality Ender 3 Pro. While the manual leveling process can seem intimidating at first, it becomes second nature with practice. A well-leveled bed ensures better adhesion, more accurate prints, and a smoother overall 3D printing experience.
With this guide, you should now be able to confidently level the bed on your Ender 3 Pro and enjoy hassle-free prints. Remember, the key to success is patience and practice—so don’t get discouraged if it takes a few tries to get it just right!
By following the steps outlined in this article and maintaining your bed level over time, you’ll be able to create high-quality, reliable prints on your Ender 3 Pro for years to come. Happy printing!
