3D printing has revolutionized the way we create prototypes, models, and even functional parts. However, one of the most critical aspects of achieving high-quality prints is ensuring that your printer’s bed is properly leveled. For users of Creality 3D printers, mastering bed leveling is essential for optimal print quality and success. In this blog post, we will delve deep into the significance of bed leveling, the methods to achieve it, and tips for maintaining a perfectly leveled bed.

Why is Bed Leveling Important?
Proper bed leveling ensures that the distance between the print head and the print bed is consistent across the entire surface. If the bed is not level, you may encounter a variety of issues, including:
1. Poor Adhesion: If the nozzle is too far from the bed, the filament won’t stick, leading to warping or detachment during printing. Conversely, if it’s too close, it can cause the nozzle to clog or damage the print surface.
2. Inconsistent Layer Height: An uneven bed can lead to variations in layer height, resulting in a print that is not only unsightly but also structurally unsound.
3. Failed Prints: A misaligned bed is one of the most common reasons for failed prints, wasting both time and material.
4. Increased Wear on Components: Constantly fighting with bed level issues can lead to increased wear and tear on the printer’s components, potentially shortening its lifespan.

Understanding Your Creality Printer
Creality offers a range of 3D printers, each with unique features, but they all share similar principles when it comes to bed leveling. Popular models include the Ender 3, CR-10, and the Ender 5 series. Familiarizing yourself with your specific model’s components will make the leveling process more manageable.
Key Components Involved in Bed Leveling
1. Print Bed: The surface on which your model is printed. It can be made of glass, aluminum, or other materials.
2. Nozzle: The part that extrudes the filament. The gap between the nozzle and the bed must be precise for successful printing.
3. Z-Axis Adjustment: This component allows for adjustments in the vertical position of the nozzle in relation to the bed.

Methods for Bed Leveling
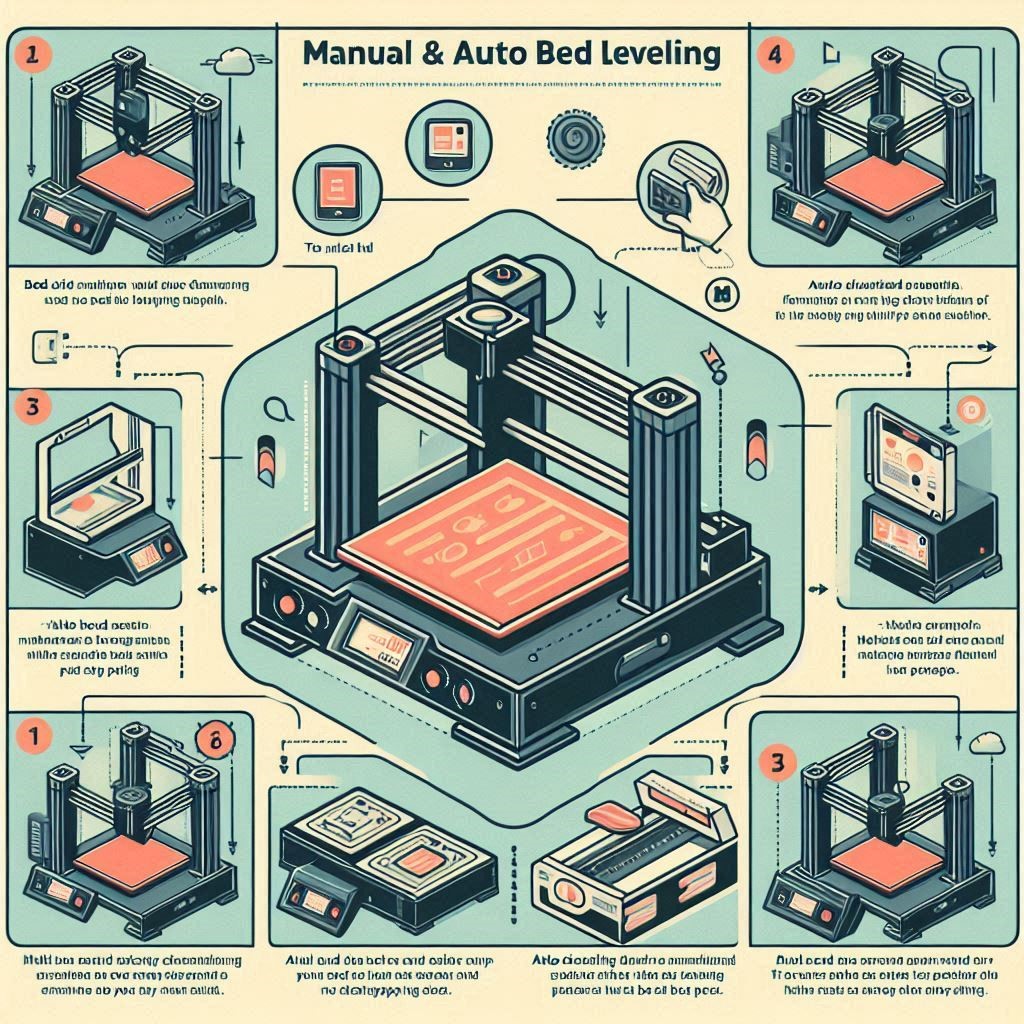
1. Manual Bed Leveling
Step-by-Step Guide:
1. Home the Printer: Start by homing the printer to ensure the nozzle is in its starting position.
2. Prepare the Bed: Clean the print surface to remove any dust or residue. This helps in achieving accurate readings during the leveling process.
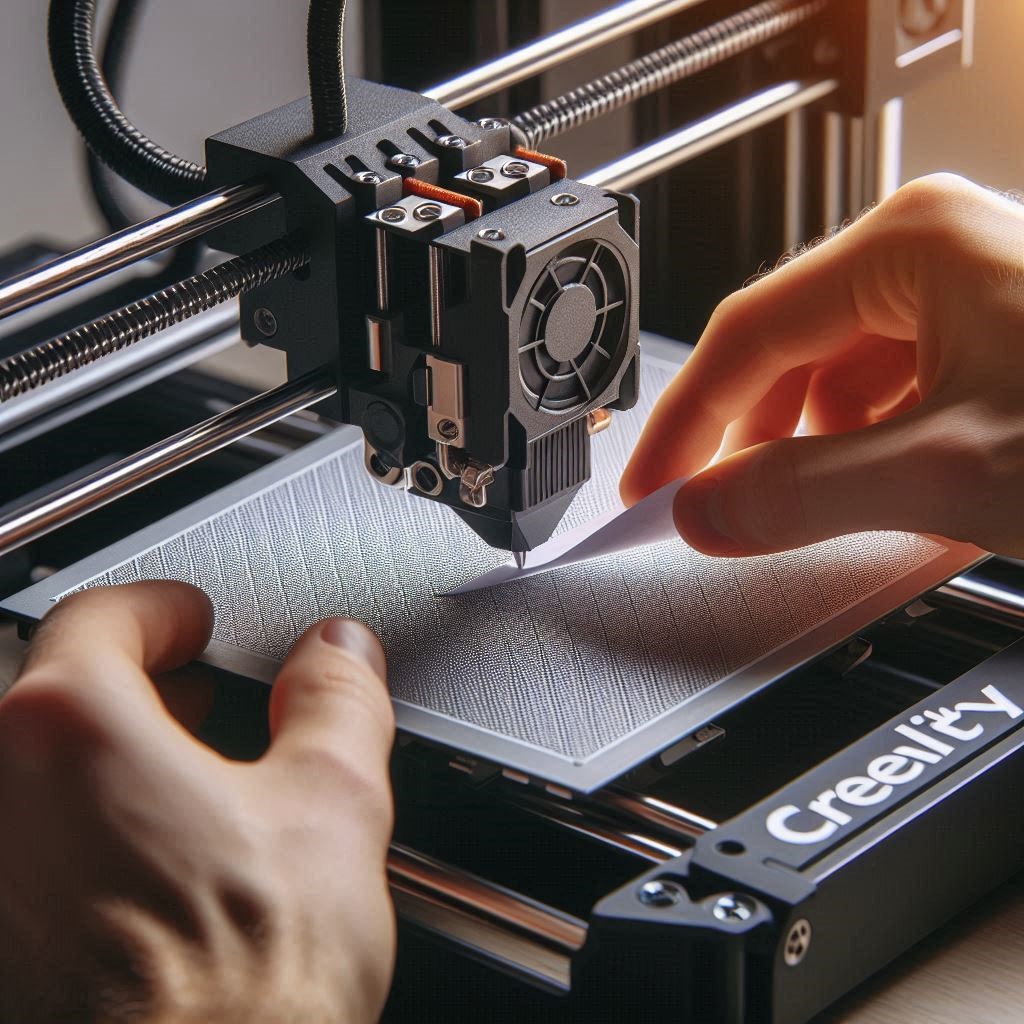
3. Use a Piece of Paper: Place a standard piece of printer paper between the nozzle and the bed. Adjust the bed height until you feel slight resistance when moving the paper.
4. Repeat for All Corners: Move the nozzle to each corner of the bed and repeat the paper test. Adjust the bed leveling knobs at each corner until the desired resistance is achieved.
5. Check the Center: After leveling the corners, check the center of the bed. If necessary, make adjustments to ensure it is level across the entire surface.
6. Final Check: Run a test print to verify that the bed is properly leveled. If issues arise, re-check the leveling process.
2. Auto Bed Leveling
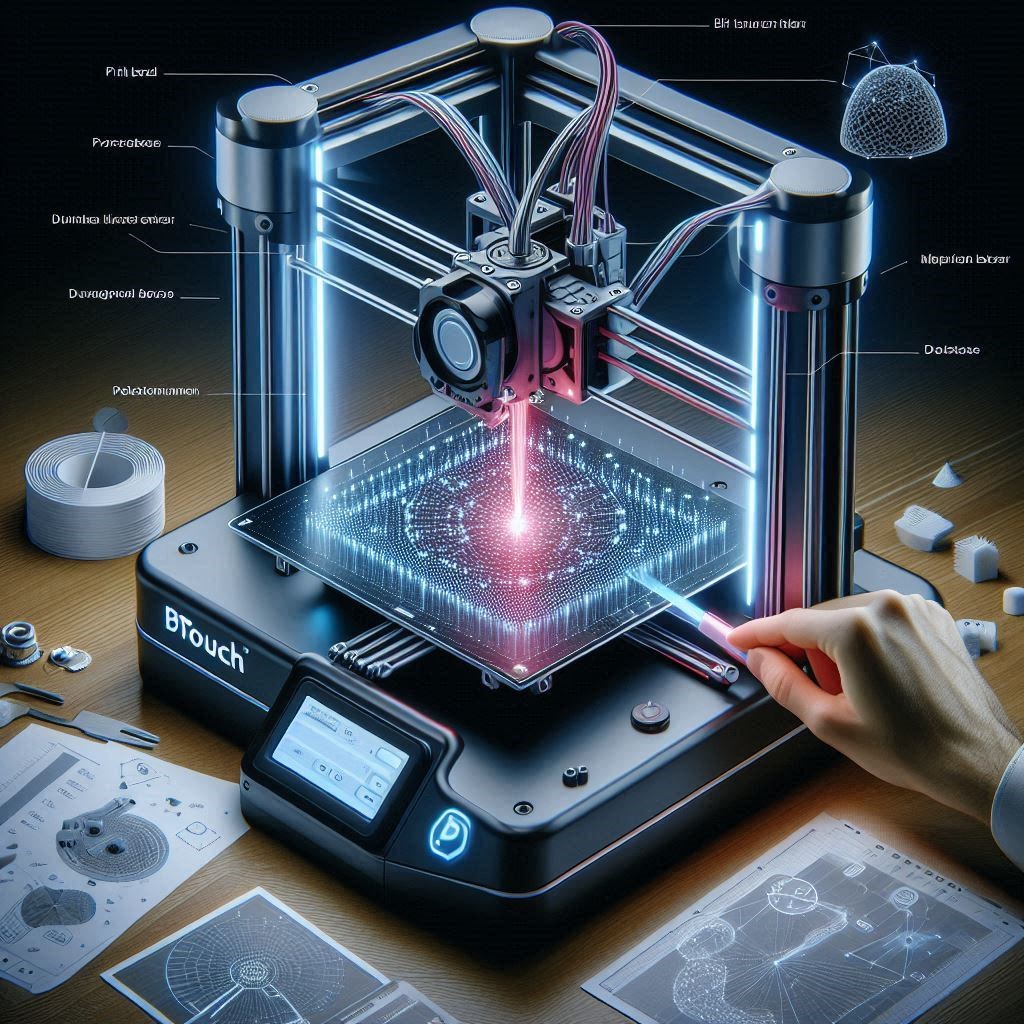
Many Creality printers offer an option for auto bed leveling, often utilizing a BLTouch or similar sensor. This can significantly simplify the leveling process.
How It Works:
1. Install the Sensor: Follow the manufacturer’s instructions to attach the auto bed leveling sensor to your printer.
2. Update Firmware: Ensure that your printer’s firmware is updated to support the auto bed leveling feature.
3. Run the Bed Leveling Routine: Initiate the auto bed leveling routine from the printer’s control menu. The sensor will probe various points across the bed to create a mesh of height data.
4. Save the Settings: Once the leveling is complete, save the settings. Your printer will now automatically adjust the Z-axis during printing to compensate for any irregularities in the bed surface.
3. Mesh Bed Leveling
Mesh bed leveling is a more advanced option that combines manual and auto leveling techniques. It creates a detailed topographic map of the print bed’s surface.
How to Implement Mesh Bed Leveling:
1. Setup the Probe: Install the probe as described in the auto bed leveling section.
2. Create a Mesh: Use the printer’s menu or a connected computer to define a grid for probing the bed.
3. Run the Mesh Leveling: Allow the printer to probe the grid points, creating a detailed mesh that accounts for any surface imperfections.
4. Adjust Settings: Once complete, save the mesh settings. Your printer will use this data for each print, allowing for exceptional accuracy.

Tips for Maintaining Bed Leveling
1. Regular Checks: Make it a habit to check bed leveling before significant prints, especially after moving the printer or changing the bed surface.
2. Monitor Wear: Over time, the print bed may wear down or warp. Consider replacing or resurfacing the bed if you notice persistent issues.
3. Use Quality Materials: Ensure you’re using high-quality filaments and a suitable print surface, as these can affect adhesion and print quality.
4. Keep the Environment Stable: Drafts, temperature changes, and vibrations can impact print quality. Ensure your printer is in a stable environment to minimize issues.
5. Firmware Updates: Regularly update your printer’s firmware to benefit from the latest improvements in leveling algorithms and features.

Conclusion
Proper bed leveling is an essential skill for any Creality 3D printer user. While the process can initially seem daunting, with practice, it becomes second nature. By understanding the importance of leveling, utilizing the right methods, and maintaining your printer, you’ll be well on your way to achieving high-quality 3D prints consistently. Embrace the learning curve, and soon you’ll be creating stunning prints that reflect your skills and creativity. Happy printing!

