What is assembly?
Assembly is the process of putting together individual parts or components to create a complete product. In the case of the Creality CR 10S Pro, assembly refers to putting together all the parts that make up the 3D printer. This can be a daunting task for first-time users, but with careful planning and attention to detail, it can be done relatively easily.
What is the function of assembly?
Assembly is important because it allows users to put together the different components of the printer and make sure that everything is working correctly. By assembling the printer, users can also ensure that all the parts are in place and that there are no problems with the connection between them.
What are the steps for assembly?
The steps for assembly are as follows:
- Assemble the frame of the printer.
- Install the wires and cables.
- Mount the hot end and cooling fan.
- Assemble the print bed.
- Connect all the parts of the printer.
- Calibrate the printer.
- Print a test object.
- Start printing!
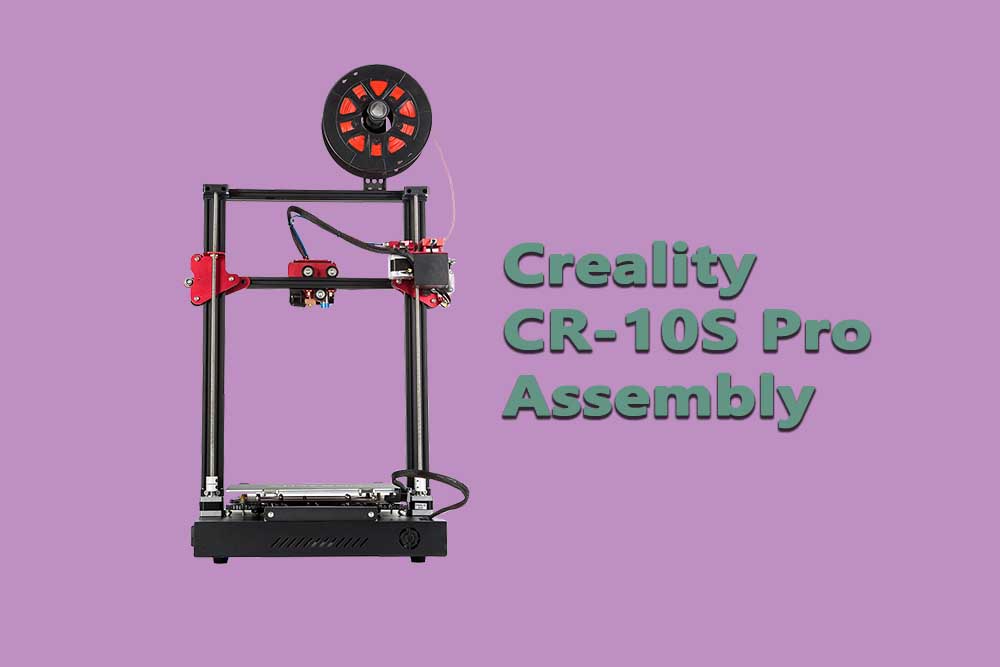
Creality CR-10s pro assembly:
How to assemble Creality CR-10s pro?
1. begin by attaching the 4 vertical posts to the base using the M4 screws and T-nuts provided in the kit.
2. Next, attach the Z-axis top plate to the posts using M4 screws.
3. Install the Z-axis lead screw into the top plate, and secure it with an M3 set screw.
4. Assemble the Z-axis motor mount, and attach it to the right side of the frame using M3 screws.
5. Install the Y-axis motor onto the motor mount, and secure it with M3 screws.
6. Repeat this step for the X-axis motor on the other side of the frame.
7. Connect all of the motors to their respective drivers, and plug in the power supply.
8. Install the filament sensor onto the right side of the frame using M3 screws.
9. Attach the touch screen display to the Z-axis top plate using M3 screws.
10. Finally, wire up all of the components according to the wiring diagram included in the kit, and you’re ready to start printing!
What is the function of assembly in CR-10s pro?
The function of assembly in CR-10s pro is to securely fasten all the parts together so they can work in harmony. This includes joining the frame, installing wires and cables, mounting the hot end and cooling fan, assembling the print bed, and connecting all the parts of the printer. All these steps are important in order to ensure that the printer works correctly and produces high-quality prints.
Types of assembly used in CR-10s pro:
There are two main types of assembly used in CR-10s pro: manual assembly and automated assembly. Manual assembly is where all the parts are connected manually, usually with screws and bolts.
Automated assembly is where some or all of the parts are connected by machines, usually lasers or robots. Creality CR-10s pro uses mainly manual assembly, which is more time-consuming but results in a stronger and more reliable printer.
Which type of assembly is used in Creality CR-10s pro?
Creality CR-10s pro uses manual assembly, which is where all the parts are connected by hand using screws and other fasteners. This type of assembly is more time-consuming but results in a stronger and more reliable printer. It is also easier to repair and modify if needed.
Creality CR-10s pro uses manual assembly, which is more time-consuming but results in a stronger and more reliable printer. With careful planning and attention to detail, anyone can successfully assemble their Creality CR 10S Pro 3D printer.
FAQ’s:
1. What are the steps for assembly?
The steps for assembly are as follows: first, join the frame together using screws and bolts; then, install the wiring and cables; next, mount the hot end and cooling fan; assemble the print bed; and finally, connect all the parts of the printer.
All these steps are important in order to ensure that the printer works correctly and produces high-quality prints.
2. What is the function of assembly in CR-10s pro?
The function of assembly in CR-10s pro is to securely fasten all the parts together so they can work in harmony. This includes joining the frame, installing wires and cables, mounting the hot end and cooling fan, assembling the print bed, and connecting all the parts of the printer.
All these steps are important in order to ensure that the printer works correctly and produces high-quality prints.
3. Types of assembly used in CR-10s pro?
Types of assembly used in CR-10s pro include manual assembly and automated assembly. Manual assembly is where all the parts are connected by hand using screws and other fasteners. Automated assembly is where some or all of the parts are connected by machines, usually lasers or robots.
Creality CR-10s pro uses mainly manual assembly, which is more time-consuming but results in a stronger and more reliable printer.
4. Which type of assembly is used in Creality CR-10s pro?
Creality CR-10s pro uses manual assembly, which is where all the parts are connected by hand using screws and other fasteners.
This type of assembly is more time-consuming but results in a stronger and more reliable printer. It is also easier to repair and modify if needed.
5. What is the importance of assembly?
The importance of assembly is to ensure that all the parts are securely fastened together so they can work correctly and produce high-quality prints. All the steps in the assembly process are important in order to avoid problems later on.
6. How is Creality CR-10s pro assembled?
Creality CR-10s pro is assembled using manual assembly, which is where all the parts are connected by hand using screws and other fasteners. This type of assembly is more time-consuming but results in a stronger and more reliable printer.
7. Is automated assembly available for CR-10s pro?
Automated assembly is not available for Creality CR-10s pro. All the parts must be connected by hand using screws and other fasteners.
Hassan Khan
Hassan Khan is a leading voice when it comes to the innovative world of additive manufacturing. A mechanical engineer by training, Hassan quickly recognized the transformative potential of 3D printing, diving headfirst into the intricacies of printer design, filament research, and software optimization. At CrealityLovers.com, Hassan shares his profound knowledge, from insightful reviews and tutorials to forward-thinking op-eds that forecast the future of 3D printing. Hassan's commitment goes beyond the written word. Hassan Khan aims to empower every reader, from novices to industry experts, ensuring they make informed decisions in their 3D printing endeavors.