What is gcode?
Gcode is a set of instructions that controls a 3D printer. It tells the printer what to do, how to do it, and when to do it. Gcode is written in a text editor, and can be tailored to your specific printer and needs.
How do I create gcode?
There are many different ways to create gcode. Some people use programs like Cura or Slic3r, while others write their own code from scratch. No matter which method you choose, the basics are always the same.
You start by defining the print bed, then adding the layers of the model. Each layer has its own set of instructions, telling the printer where to move and how much filament to extrude.
What is start gcode?
Start gcode is a set of instructions that tells the printer what to do at the very beginning of a print. This can include things like heating up the bed and extruder, moving to the starting position, and more.
Start gcode is usually specific to each printer and slicing program, so it’s important to make sure you’re using the correct code for your machine.
What is end gcode?
End gcode is a set of instructions that tells the printer what to do at the very end of a print. This can include things like cooling down the bed and extruder, moving to the starting position, and more.
End gcode is usually specific to each printer and slicing program, so it’s important to make sure you’re using the correct code for your machine.
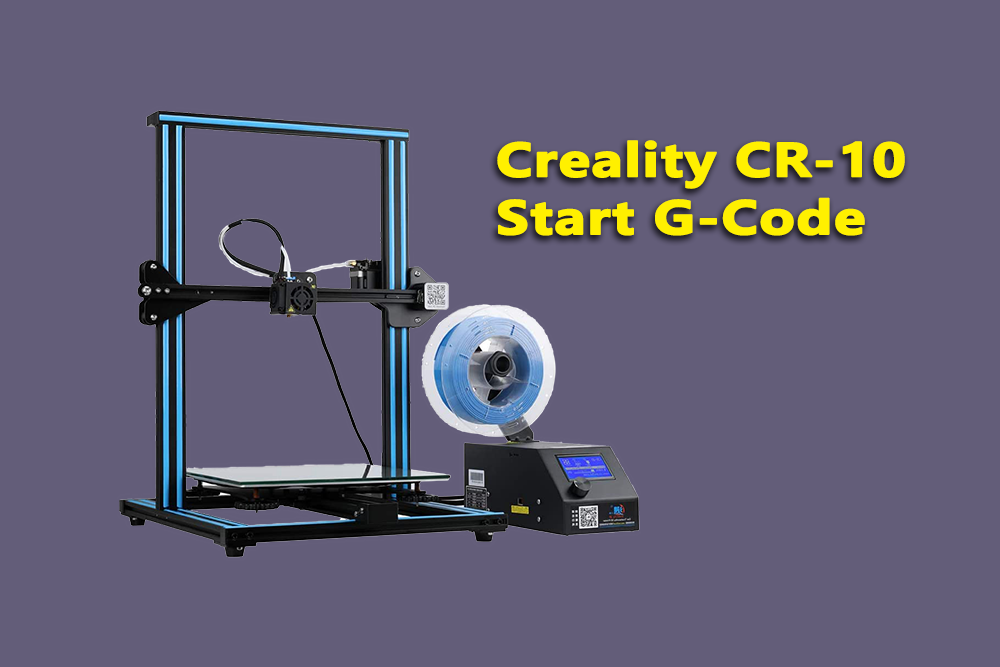
Creality CR-10 Start gcode:
What is it and how do I create it?
When you’re ready to start printing with your Creality CR-10 3D printer, you’ll need to create a start gcode file. This file tells the printer what to do at the very beginning of a print, including things like heating up the bed and extruder, moving to the starting position, and more.
Start gcode is usually specific to each printer and slicing program, so it’s important to make sure you’re using the correct code for your machine.
The end gcode file tells the printer what to do at the very end of a print, including things like cooling down the bed and extruder, moving to the starting position, and more.
End gcode is usually specific to each printer and slicing program, so it’s important to make sure you’re using the correct code for your machine.
How it is created?
Creating start and end gcode files may sound daunting, but don’t worry! There are many different ways to create gcode. Some people use programs like Cura or Slic3r, while others write their own code from scratch.
No matter which method you choose, the basics are always the same. You start by defining the print bed, then adding the layers of the model. Each layer has its own set of instructions, telling the printer where to move and how much filament to extrude.
Types of Start gcodes:
There are many different types of start gcodes, each with its own set of instructions. Here are a few of the most common types:
- Heated Bed Start Gcode: This code tells the printer to heat up the bed to the correct temperature before starting the print.
- Extruder Heating Start Gcode: This code tells the printer to heat up the extruder to the correct temperature before starting the print.
- Retract Filament Start Gcode: This code tells the printer to retract any filament that’s currently in the extruder before starting the print. This helps prevent jams and clogs.
- Move XYZ to Starting Position Start Gcode: This code tells the printer to move to the starting position before starting the print.
- Home XYZ Start Gcode: This code tells the printer to home the XYZ axes before starting the print.
- Do a Z-Height Calibration Start Gcode: This code tells the printer to do a z-height calibration before starting the print. This is important for ensuring that the first layer of your print adheres properly to the build plate.
As you can see, there are many different types of start gcodes, each with its own purpose. Which type of start gcode you use will depend on your specific printer and slicing program.
Make sure to consult your printer’s manual or the slicing program’s documentation to find out which start gcode is right for your machine.
End gcodes:
Just like there are many different types of start gcodes, there are also many different types of end gcodes. Here are a few of the most common types:
- Cool Down Bed and Extruder End Gcode: This code tells the printer to cool down the bed and extruder after the print is finished.
- Move XYZ to Starting Position End Gcode: This code tells the printer to move to the starting position after the print is finished.
- Home XYZ End Gcode: This code tells the printer to home the XYZ axes after the print is finished.
- Do a Z-Height Calibration End Gcode: This code tells the printer to do a z-height calibration after the print is finished. This is important for ensuring that the last layer of your print adheres properly to the build plate.
FAQ’s:
Q: What is gcode?
A: Gcode is a set of instructions that tells a 3D printer what to do.
Q: What is start gcode?
A: Start gcode is a set of instructions that tells a 3D printer what to do at the beginning of a print.
Q: What is end gcode?
A: End gcode is a set of instructions that tells a 3D printer what to do at the end of a print.
Q: How do I create start and end gcode files?
A: You can create start and end gcode files using programs like Cura or Slic3r, or you can write your own code from scratch.
Q: What should I include in my start and end gcode files?
A: Your start and end gcode files will vary depending on your specific printer and slicing program. However, most start and end gcode files will include instructions for heating the bed and extruder, retracting the filament, and homing the XYZ axes.
Hassan Khan
Hassan Khan is a leading voice when it comes to the innovative world of additive manufacturing. A mechanical engineer by training, Hassan quickly recognized the transformative potential of 3D printing, diving headfirst into the intricacies of printer design, filament research, and software optimization. At CrealityLovers.com, Hassan shares his profound knowledge, from insightful reviews and tutorials to forward-thinking op-eds that forecast the future of 3D printing. Hassan's commitment goes beyond the written word. Hassan Khan aims to empower every reader, from novices to industry experts, ensuring they make informed decisions in their 3D printing endeavors.