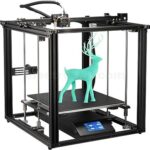
The Creality Ender 3 is one of the most popular and affordable 3D printers on the market, loved by hobbyists and professionals alike for its reliable performance and upgradability. One of the key areas that can significantly impact the quality of your prints is the tension of the belts that drive the motion of the printer’s axes. Whether you’re a beginner or an experienced user, understanding and adjusting the belt tension on your Ender 3 can lead to improved print quality, smoother operation, and reduced wear on the machine.
In this guide, we’ll walk you through everything you need to know about belt tensioners for the Creality Ender 3, including why belt tension is so crucial, how to adjust it, and which modifications can help you achieve optimal performance.
Why Belt Tension Matters in 3D Printing
Before diving into how to adjust the tension of your Ender 3 belts, it’s important to understand why it matters. The Ender 3 uses stepper motors to move the print head and bed along the X, Y, and Z axes, and these movements are controlled by timing belts. The tension of these belts directly influences the accuracy, precision, and reliability of the printer.
Here’s how proper belt tension affects your prints:
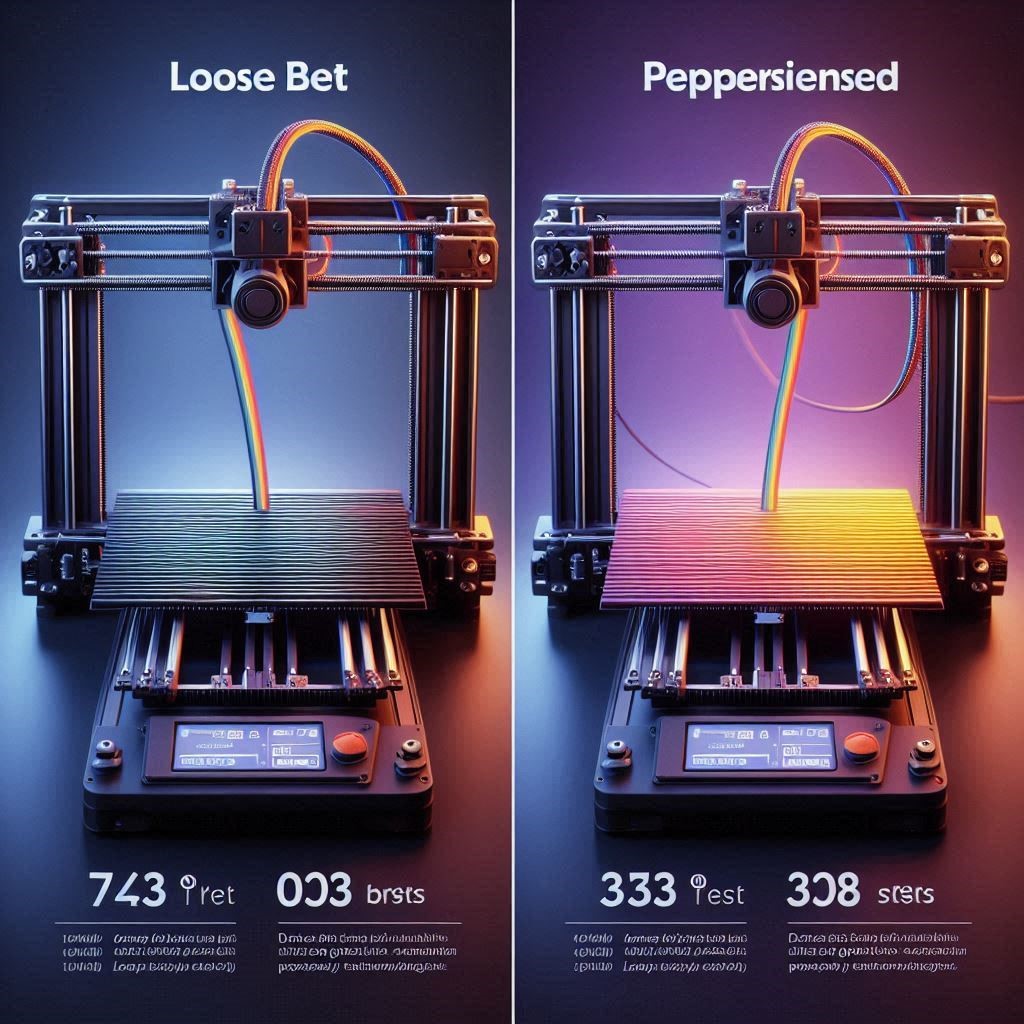
1. Print Quality: Loose belts can lead to wobbling or inconsistent motion, which in turn creates inaccurate prints with visible defects such as layer misalignment or ringing. On the other hand, overly tight belts can strain the motors and lead to skipped steps or increased wear.
2. Print Speed: Properly tensioned belts allow the motors to move the print head and bed efficiently, which can contribute to faster and more reliable prints without sacrificing quality.
3. Longevity of Components: When belts are too tight, they place unnecessary stress on the stepper motors, pulleys, and bearings, potentially reducing the lifespan of these parts. On the other hand, loose belts can cause skipping or grinding, leading to mechanical failures over time.
4. Noise and Vibration: Proper belt tension helps to reduce unnecessary noise and vibration during printing, which not only makes your printer quieter but also leads to more stable operation.
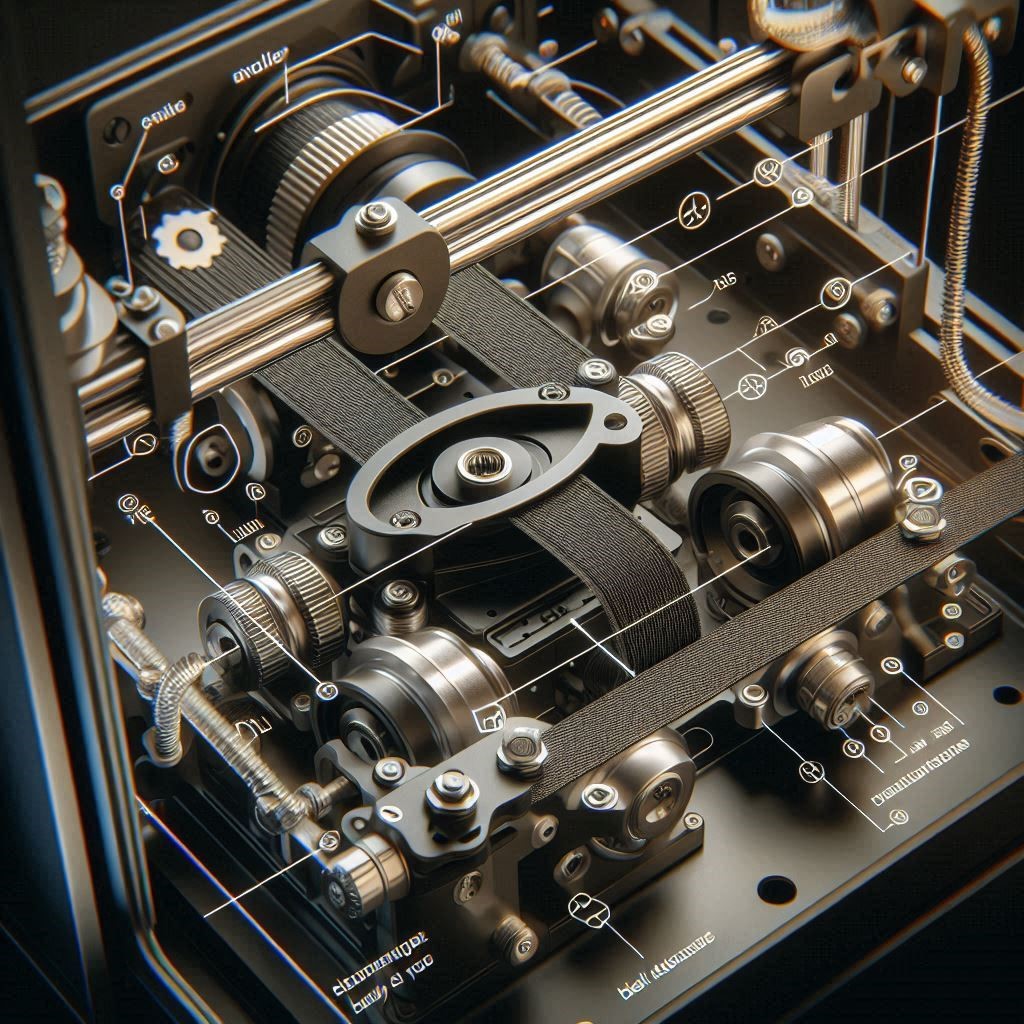
Understanding the Ender 3’s Belt System
The Creality Ender 3 features two primary belts:
- The X-axis Belt: Controls the left-to-right movement of the print head (extruder).
- The Y-axis Belt: Controls the forward-and-backward movement of the print bed.
Both belts run over pulleys and are tightened using adjustable screws or tensioning mechanisms. Over time, these belts can stretch or wear out, necessitating periodic adjustments to maintain the printer’s performance.
Belt Tensioning Mechanism on the Ender 3
The Ender 3’s stock design includes simple manual tensioning systems on both the X and Y axes, where you can tighten or loosen the belts by adjusting screws and moving the carriage or bed. While this method works, it’s not always the most precise or easiest to adjust.
This is where an after-market belt tensioner kit can be a game changer. These kits offer a more refined way to adjust the belt tension, allowing you to achieve consistent and accurate tension with less effort.
How to Check and Adjust the Belt Tension on Your Ender 3
1. Check the Tension of Your Belts
Before making any adjustments, you need to check if your belts are too loose or too tight. To do this, you can follow these steps:
- X-axis: Gently press down on the X-axis belt with your finger. You should feel some resistance, but the belt shouldn’t be too soft or too tight. A good rule of thumb is that the belt should make a “twang” sound when you pluck it (like a guitar string). If it doesn’t, it might be too loose.
- Y-axis: Repeat the same process for the Y-axis belt. Because the Y-axis carries more load (due to the bed’s weight), it’s important to get this belt tension just right, as uneven bed movement can cause layer misalignment.
2. Adjusting the Belt Tension
To adjust the tension of your belts, follow these steps for both axes:
X-Axis Tension:
- Loosen the screw that holds the extruder assembly in place.
- Slide the extruder assembly slightly to increase the tension of the belt.
- Tighten the screw again and check the belt tension.
Y-Axis Tension:
- Loosen the screws holding the Y-axis tensioning mechanism (typically found on the right side of the bed frame).
- Move the bed forward or backward to adjust the tension.
- Tighten the screws and check the belt tension again.
Remember, always test the tension after adjustment to ensure it’s not too tight or loose. If the printer makes strange noises or the belts feel resistant during movement, you may need to adjust them again.
3. Using a Belt Tensioner Kit
A belt tensioner kit replaces the manual tensioning system with a more precise and easier-to-use setup. There are several kits available for the Ender 3, including the Creality Ender 3 Belt Tensioner Kit, which is a popular choice among users. These kits provide a simple way to adjust the tension via a screw-based mechanism that evenly applies force on the belts.
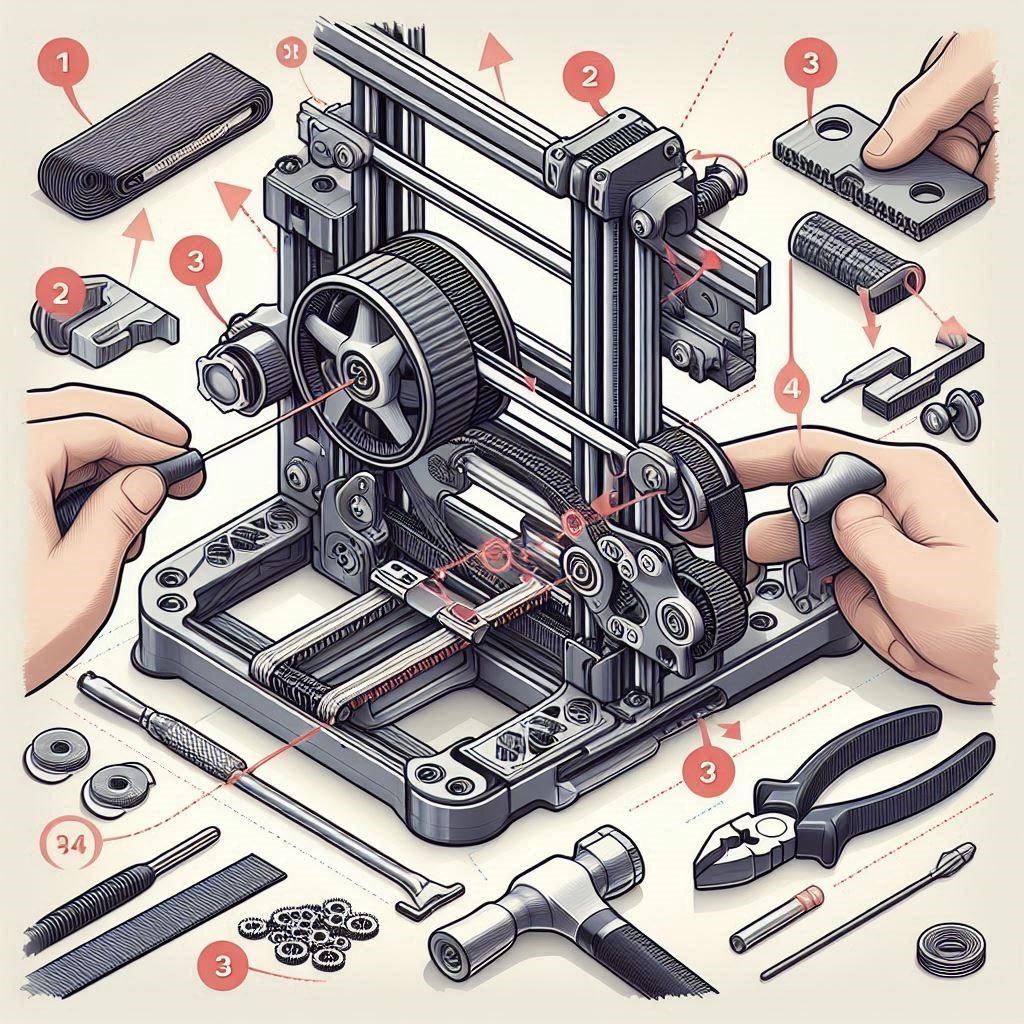
To install a belt tensioner kit:
- Start by removing the stock tensioning mechanism from both the X and Y axes.
- Install the new belt tensioners according to the kit’s instructions (typically, you’ll need to screw them into the frame).
- Adjust the tension on the belts using the built-in screw mechanism.
- Check the tension as described earlier and make further adjustments if needed.
Once installed, the belt tensioner system should make it much easier to maintain the correct tension over time, with less trial and error.
Common Problems and How to Solve Them
1. Belt Slipping or Skipping Steps
If your printer is experiencing issues with belts slipping or the motors skipping steps, this is often due to either the belts being too loose or too tight.
- Solution: Check the tension and adjust as needed. If the belts are too loose, they can slip over the pulleys, causing missed steps. If they’re too tight, they can create additional strain on the stepper motors, leading to skipped steps.
2. Inconsistent Print Quality
If you’re noticing layer misalignment or strange artifacts in your prints, uneven belt tension could be the culprit.
- Solution: Inspect both the X and Y axes belts for consistency. Ensure they are both tightened equally and not overly stressed. Additionally, look for any frayed or damaged sections of the belts that could be affecting the printer’s accuracy.
3. Unusual Noise During Printing
A noisy 3D printer can be a sign of improper belt tension. If your Ender 3 makes high-pitched squeaks or rattles during movement, it may indicate that one or both belts are too loose.
- Solution: Check the belt tension and make small adjustments until the noise disappears. Lubricating the belts with a small amount of silicone oil can also help reduce noise and improve overall smoothness.
Conclusion
Proper belt tension is crucial for maximizing the performance and longevity of your Creality Ender 3 3D printer. By understanding how to check, adjust, and maintain the tension of the belts, you can ensure smoother prints, improved accuracy, and less wear on your printer’s components.
While the stock tensioning system works, upgrading to an aftermarket belt tensioner kit can make this process even easier and more precise. With the right tools and a bit of practice, you’ll be able to optimize your Ender 3’s performance and take your 3D printing experience to the next level.
