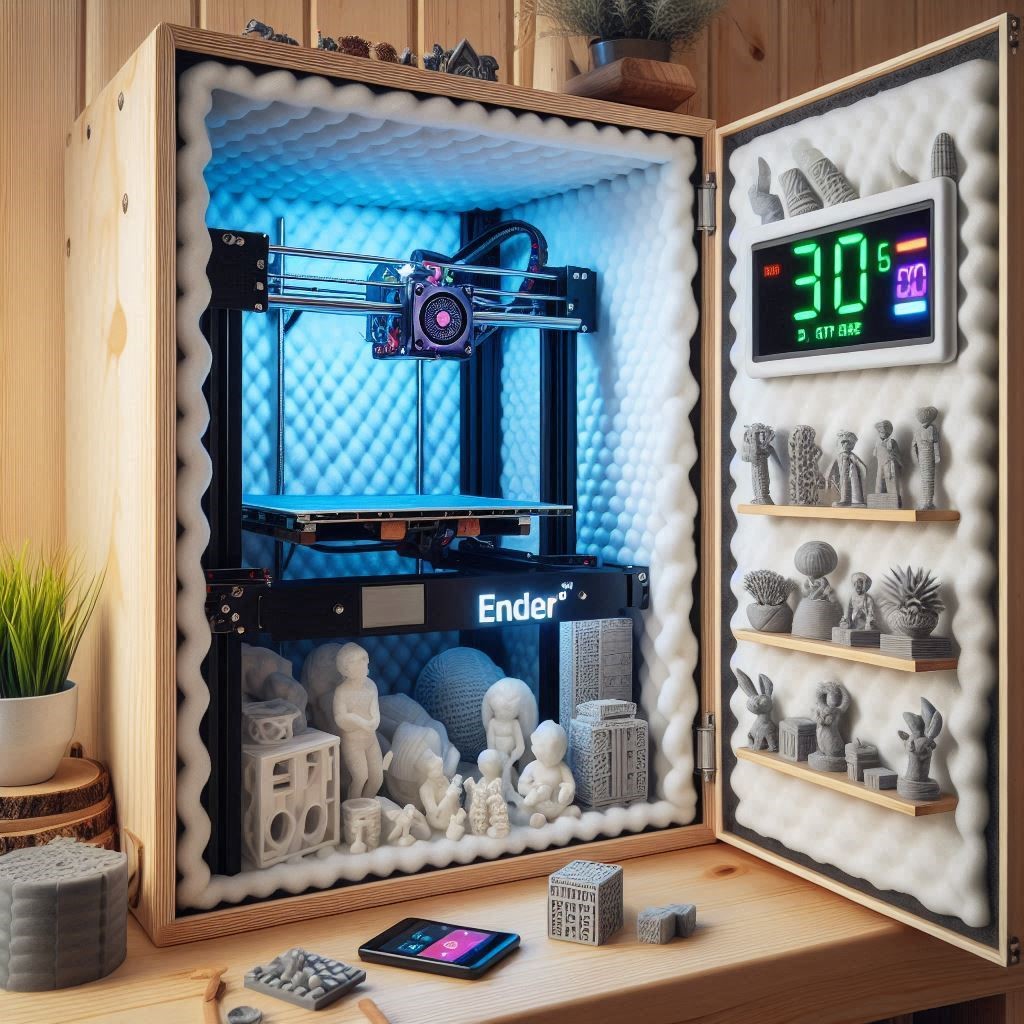
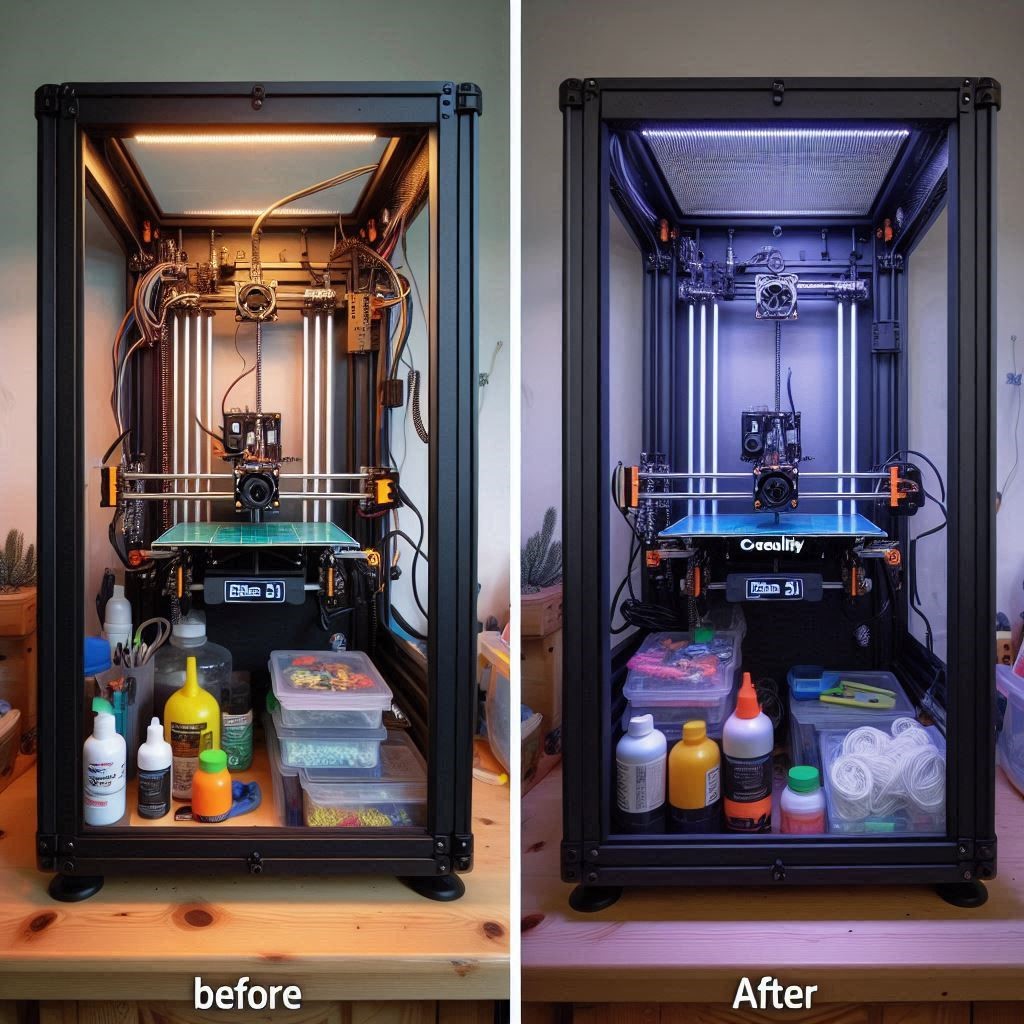
If you’re a 3D printing enthusiast, the Creality Ender 3 is likely a staple in your workshop. This budget-friendly printer is celebrated for its reliability and versatility, but to truly unlock its potential, an enclosure can be a game-changer. In this guide, we’ll delve into the reasons why you should consider building a DIY enclosure for your Ender 3, explore the materials you can use, and provide a step-by-step process to create your own.
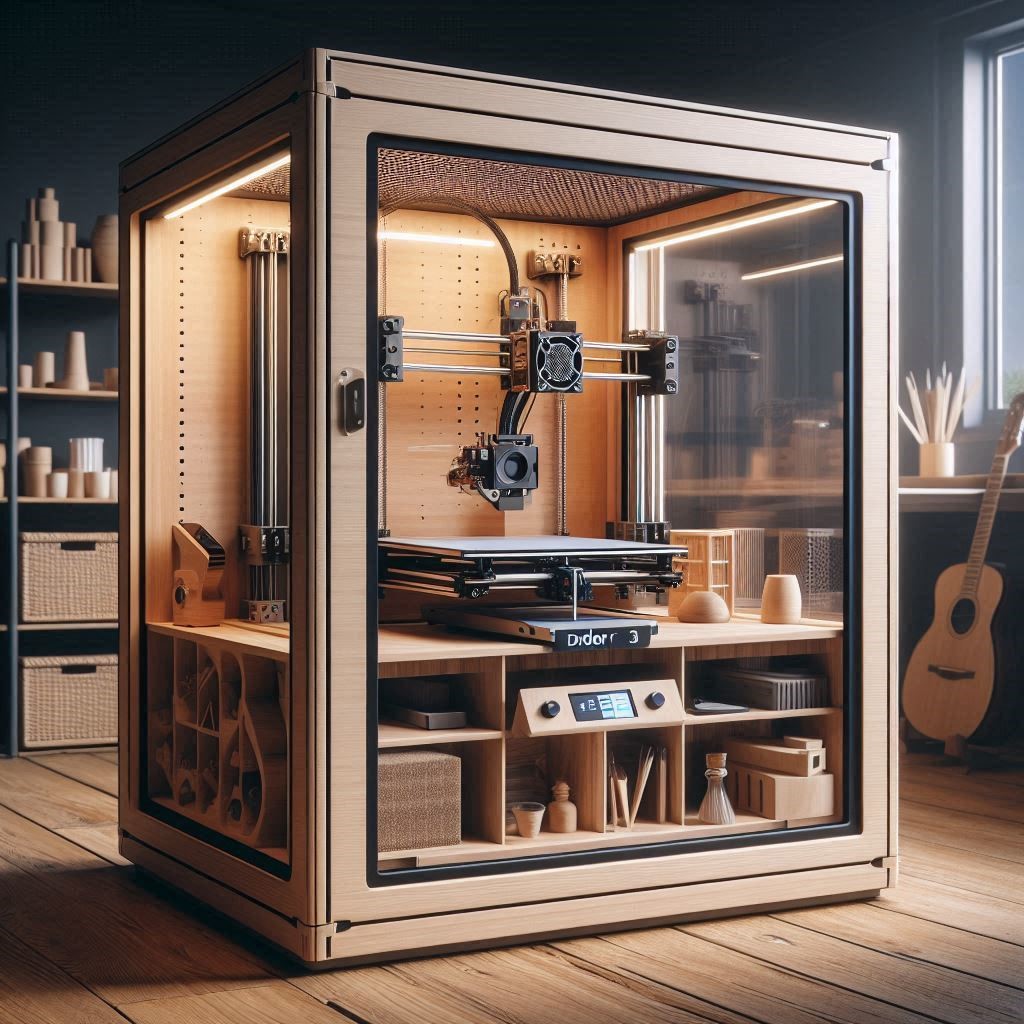
Why Build an Enclosure for Your Ender 3?
1. Temperature Control
One of the primary advantages of an enclosure is temperature regulation. Many filaments, such as ABS, require stable temperatures to avoid warping. An enclosure helps maintain an ambient temperature around the print area, reducing the likelihood of drafts that can cause uneven cooling.
2. Enhanced Print Quality
With better temperature control, you can achieve improved print quality. Enclosures reduce the chances of layer delamination and warping, resulting in smoother finishes and more intricate details in your prints.
3. Safety
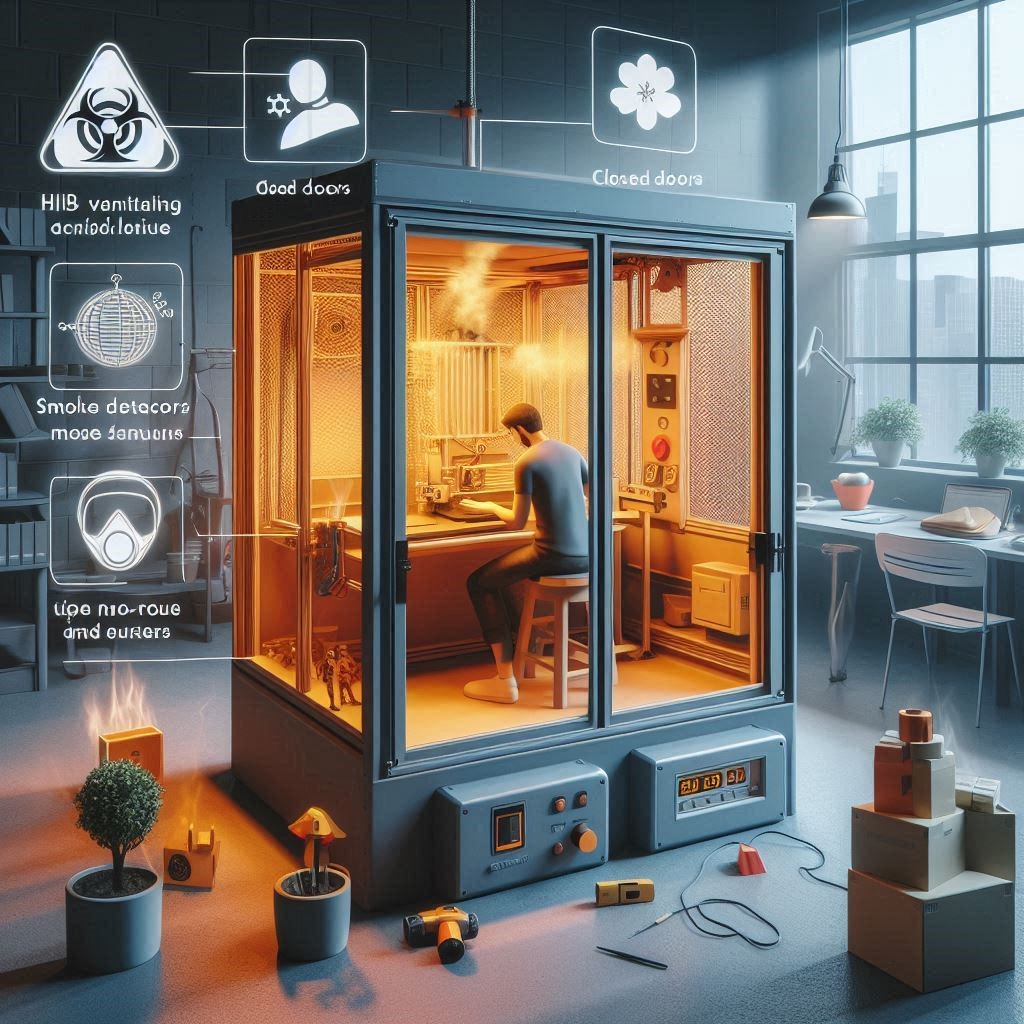
3D printing involves high temperatures and sometimes toxic fumes, especially when working with certain materials. An enclosure provides a safe environment, containing fumes and reducing the risk of accidental contact with hot components.
4. Noise Reduction
If you’re printing in a shared space or at home, the sound of a 3D printer can be disruptive. An enclosure dampens noise, allowing for a quieter printing experience.
5. Dust and Debris Protection
An enclosed environment keeps dust and other particles away from the print bed and extruder, minimizing potential print failures caused by contamination.
Materials You’ll Need
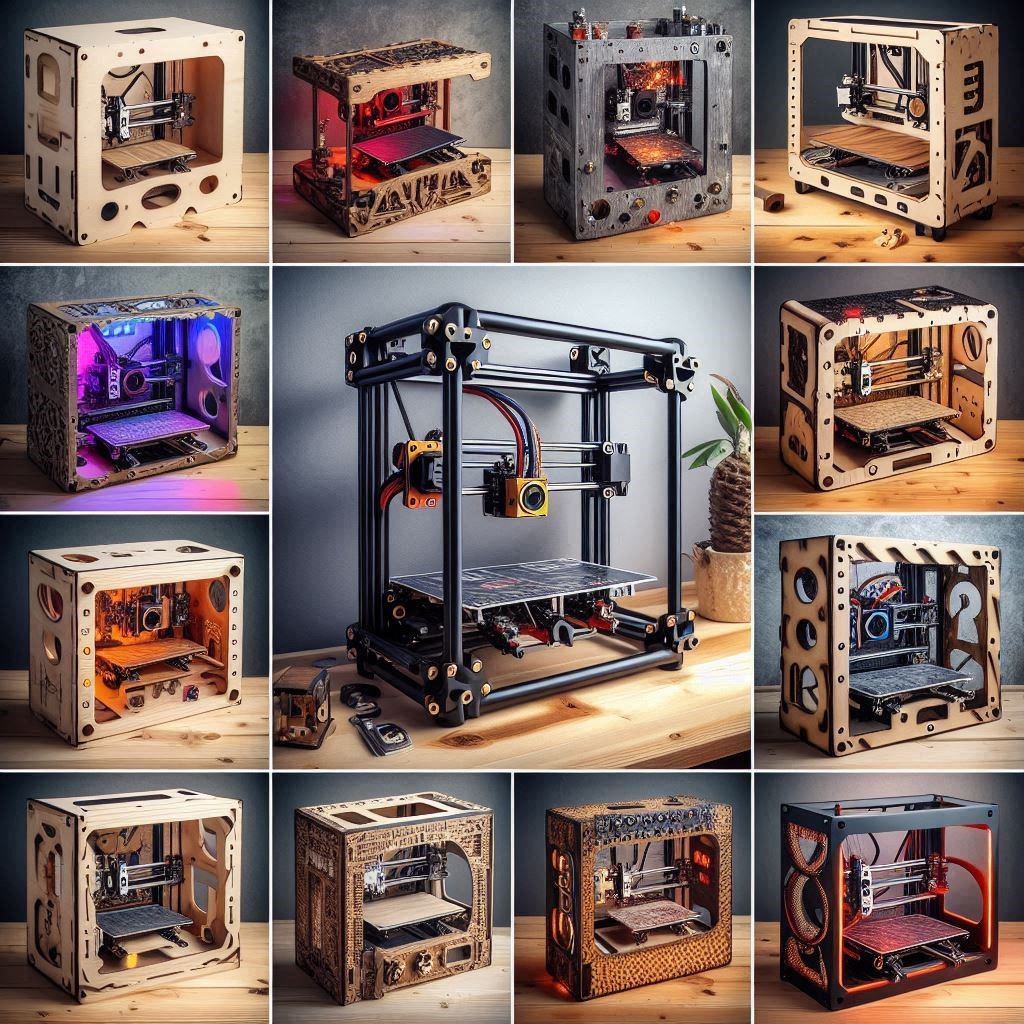
When building a DIY enclosure for your Creality Ender 3, you have various materials to choose from. Below are some common options:
1. Wood
- Pros: Easy to work with, customizable, and offers good insulation.
- Cons: Heavier than other options and may not provide full visibility of your prints.
2. PVC or Acrylic Sheets
- Pros: Lightweight, available in various thicknesses, and allows visibility of the printing process.
- Cons: May not provide as much insulation as wood.
3. Metal Frame
- Pros: Sturdy and long-lasting, with excellent heat retention.
- Cons: Can be more expensive and difficult to assemble.
4. Insulation Material
- Pros: Improves thermal performance when used with other materials.
- Cons: Adds complexity to the build.
5. Hinges and Latches
- For doors to access the printer while keeping the enclosure sealed.
6. Cooling Fans
- To regulate temperature and ventilate fumes if necessary.
Tools Required
Before starting your DIY enclosure project, gather the following tools:
- Drill
- Screwdriver
- Measuring tape
- Saw (if using wood)
- Sandpaper (for smoothing edges)
- Safety goggles
- Gloves
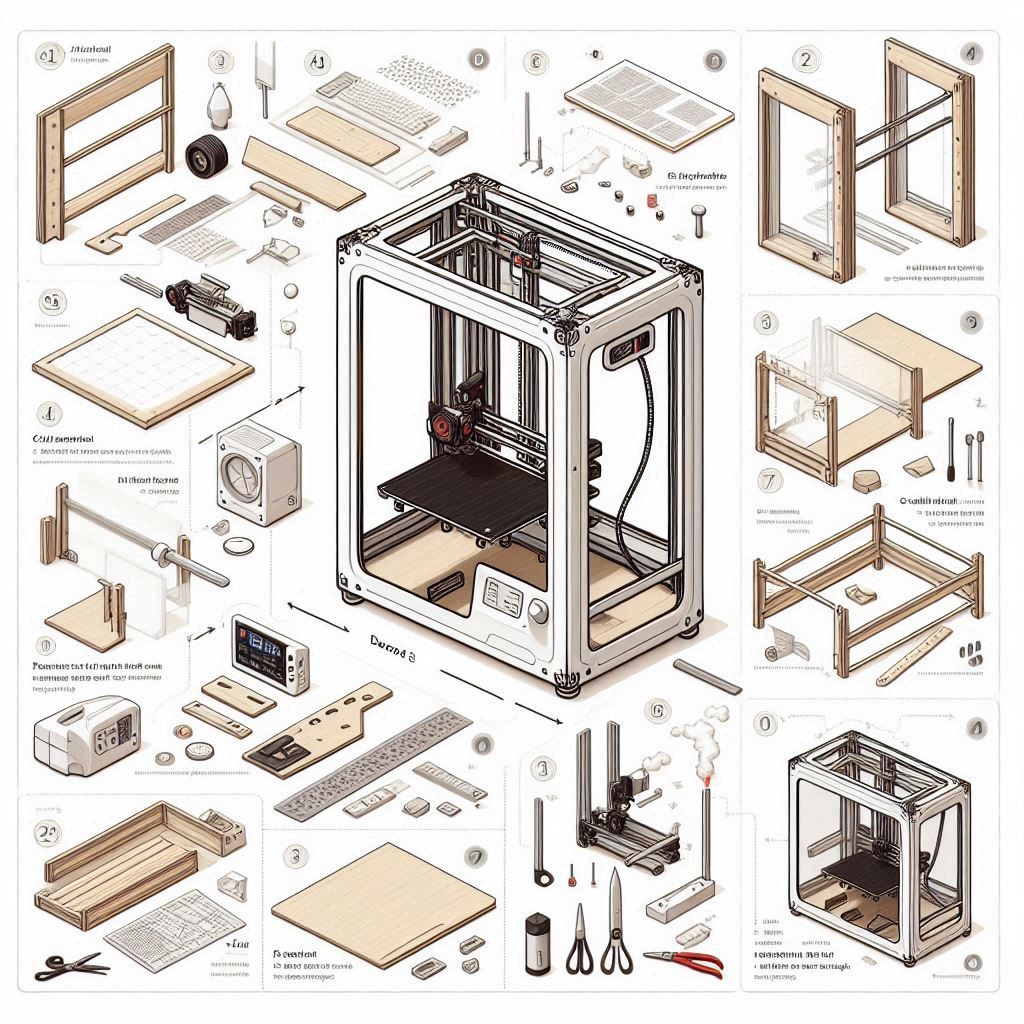
Step-by-Step Guide to Building Your Enclosure
-
Step 1: Plan Your Design
The first step is to sketch a design that fits your space and meets your printing needs. Consider dimensions that accommodate the Ender 3 with additional space for air circulation. A typical size might be around 30” x 30” x 30”, but adjust based on your setup.
-
Step 2: Gather Materials
Once you have your design, collect all necessary materials. If you’re using wood, you’ll need sheets for the frame and panels. If you’re going with PVC or acrylic, ensure you have enough sheets to cover your enclosure.
-
Step 3: Cut Your Panels
If you’re using wood or acrylic sheets, measure and cut them according to your design. Always double-check your measurements before cutting. For acrylic, use a fine-toothed saw to prevent chipping.
-
Step 4: Assemble the Frame
Start by constructing the frame. If using wood, screw the pieces together to create a box structure. Ensure that it is sturdy, as it will hold your printer and withstand the heat generated during printing. For a metal frame, follow the manufacturer’s instructions for assembly.
-
Step 5: Attach the Panels
Secure your panels to the frame. If you’re using acrylic sheets, consider using a clear adhesive to minimize visibility issues. For wooden enclosures, screws or wood glue work well.
-
Step 6: Install the Door
Using hinges, attach one side panel to create a door. Make sure it opens smoothly for easy access to the printer. Add a latch or magnet to keep it closed while printing.
-
Step 7: Add Ventilation
Depending on the materials you plan to use, consider adding a cooling fan. This is especially important if you’re printing with filaments that emit fumes. Position the fan to ensure good airflow without causing drafts inside the enclosure.
-
Step 8: Insulate (Optional)
If you’re using wood, you might not need insulation, but for other materials, consider adding insulation panels to improve temperature stability. Ensure that insulation doesn’t obstruct the airflow from the fan.
-
Step 9: Final Touches
Sand down any rough edges to prevent injury and ensure a clean finish. You may also want to paint or decorate your enclosure for a more aesthetic look. Make sure all components are securely fastened.
-
Step 10: Test Your Setup
Before you start printing, run some tests to ensure that the enclosure maintains a stable temperature and that the printer operates correctly within its confines. Monitor the first few prints to make sure everything runs smoothly.
Conclusion
Building a DIY enclosure for your Creality Ender 3 can significantly enhance your 3D printing experience. By providing a controlled environment, you’ll improve print quality, ensure safety, and reduce noise. With a variety of materials and designs to choose from, you can tailor your enclosure to fit your needs and space.
Investing time and effort into this project will pay off in the form of better prints and a more enjoyable printing experience. So gather your materials, unleash your creativity, and enjoy the journey of building your own Ender 3 enclosure! Happy printing!
