3D printing has revolutionized the way we create and prototype, making it accessible to hobbyists and professionals alike. Among the myriad of 3D printers available today, the Creality Ender 3 stands out as a popular choice due to its affordability, reliability, and strong community support. However, to unlock the full potential of this machine, you must master your slicing software. In this guide, we’ll explore the essential Cura settings for the Creality Ender 3, ensuring you get the best possible prints.
What is Cura?
Cura is a powerful, open-source slicing software developed by Ultimaker. It translates your 3D models into instructions that your printer can understand. These instructions tell the printer how to move, how much filament to extrude, and other critical factors to ensure a successful print. Cura supports a wide range of 3D printers, including the Creality Ender 3, and is packed with features that can significantly improve your printing experience.
Setting Up Cura for the Ender 3
Before diving into specific settings, let’s ensure your Cura is correctly set up for the Ender 3.
1. Installing Cura
- Download and Install: Visit the [Ultimaker website](https://ultimaker.com/software/ultimaker-cura) to download the latest version of Cura. Follow the installation prompts for your operating system.
- Select Your Printer: When prompted, choose “Creality Ender 3” from the list of pre-configured printers. This automatically sets basic parameters tailored for the Ender 3.
2. Familiarizing with the Interface
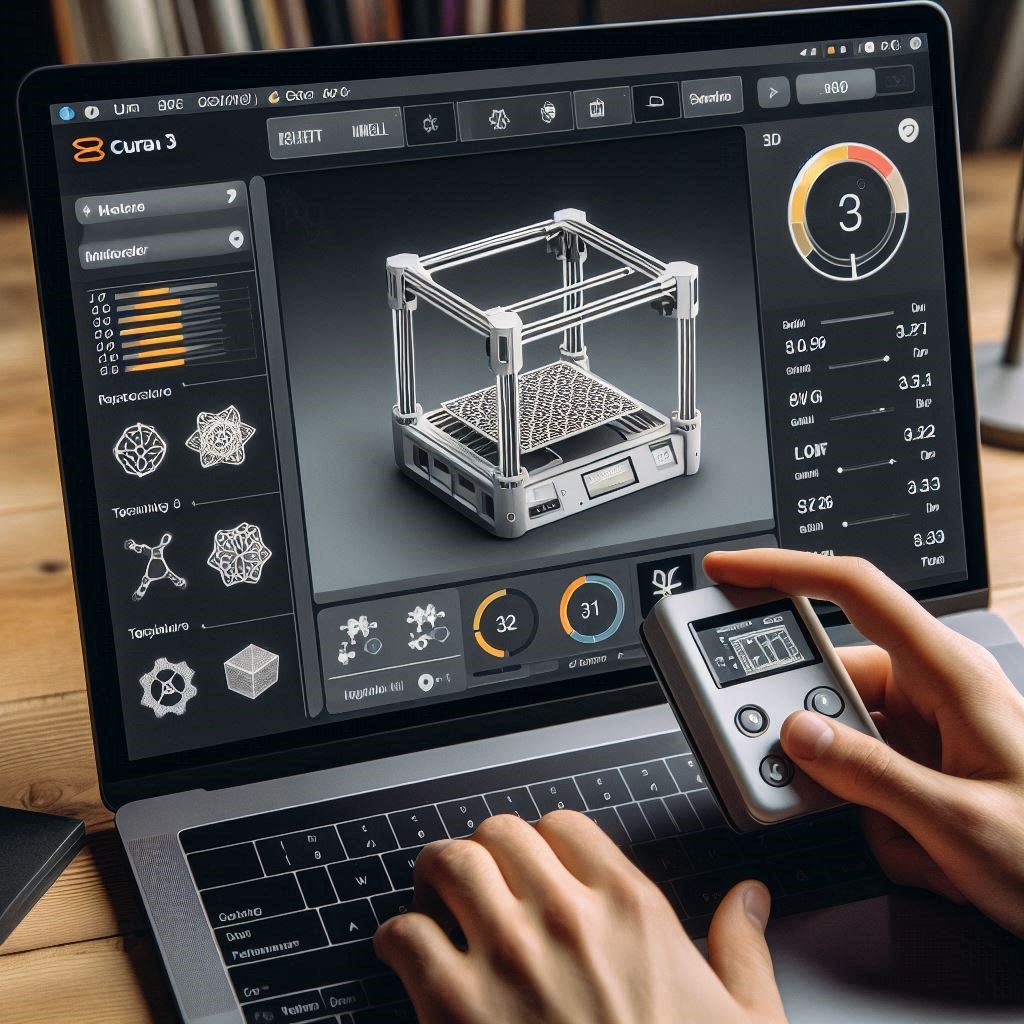
Take some time to navigate through Cura’s interface. The layout is intuitive, featuring a 3D view of your model, a settings panel on the right, and a print area representation. Familiarize yourself with the tabs, including the “Print Setup,” “Material,” and “Preview” tabs.
Essential Cura Settings for the Ender 3
1. Print Quality Settings
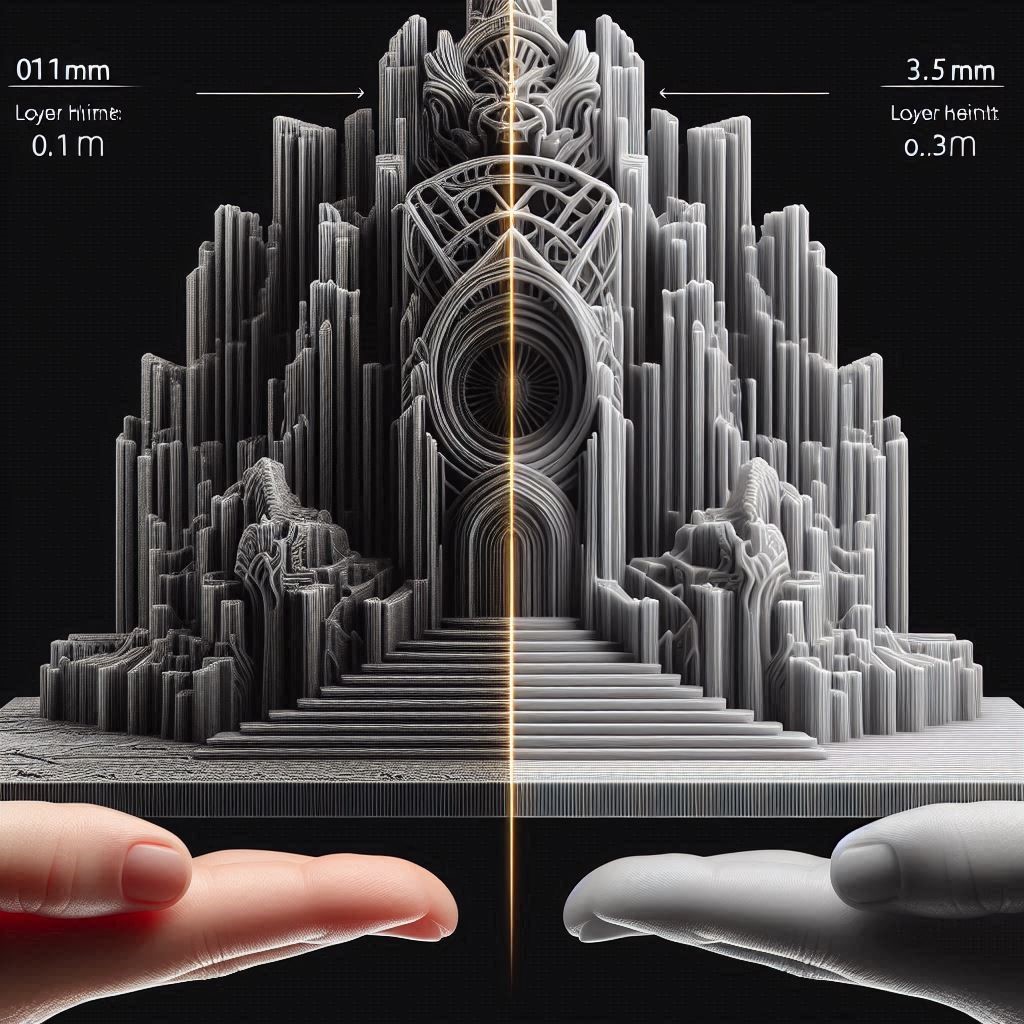
- Layer Height: The layer height defines the thickness of each printed layer. A typical setting for general prints is 0.2 mm, providing a balance between quality and speed. For finer details, you can go as low as 0.1 mm, while for faster prints, 0.3 mm is reasonable.
- Print Speed: A default print speed of 50 mm/s is often a good starting point. You may increase this for simple prints or decrease it for intricate models to improve detail and adhesion.
- Initial Layer Speed: Slowing down the first layer is crucial for adhesion. Set this to 20-25 mm/s to ensure your print sticks well to the build plate.
2. Shell Settings
- Wall Line Count: A wall line count of 2-3 lines is generally sufficient for most prints, providing a good balance of strength and speed.
- Wall Thickness: This should be set to at least 1.2 mm (equivalent to 3 wall lines at 0.4 mm nozzle width). Adjust this if you need more strength or better surface quality.
3. Infill Settings
- Infill Density: The infill density is the percentage of the interior volume that will be filled with material. For functional parts, an infill density of 20% is often adequate, while 50% or more is suitable for heavy-duty items or mechanical parts.
- Infill Pattern: Popular patterns include grid, lines, and cubic. The grid pattern is often favored for a good combination of strength and speed.
4. Temperature Settings
- Nozzle Temperature: The recommended nozzle temperature for PLA is usually around 200°C. For PETG, you might set it to 230°C, and for ABS, around 240°C. Always refer to your filament manufacturer’s specifications.
- Build Plate Temperature: For PLA, a build plate temperature of 60°C is effective, while ABS typically requires around 100°C to prevent warping.
5. Retraction Settings
Retraction settings are critical for minimizing stringing and improving print quality.
- Retraction Distance: A good starting point is 5 mm for the Ender 3. This may need adjustment depending on the filament.
- Retraction Speed: A retraction speed of 40-50 mm/s is effective. You can experiment with this to find the optimal speed for your filament.
6. Support Settings
When printing complex models, support structures may be necessary.
- Support Placement: Choose between “Everywhere” and “Touching Buildplate.” For most models, “Touching Buildplate” is sufficient.
- Support Density: A density of 15-20% works well for most prints. Increasing this can provide more robust support but may be harder to remove.
7. Cooling Settings
Effective cooling can significantly improve the quality of your prints, especially for PLA.
- Fan Speed: Set your cooling fan to 100% after the first few layers. This helps prevent warping and improves layer adhesion.
- Initial Fan Speed: Keep the initial fan speed low (around 30%) for the first few layers to ensure good adhesion to the build plate.
Advanced Settings
Once you’re comfortable with the basic settings, you may want to explore some advanced features.
1. Custom Supports
Utilize custom supports to minimize filament usage and improve the aesthetics of your prints. Cura allows you to add supports only where needed, reducing waste.
2. Tree Supports
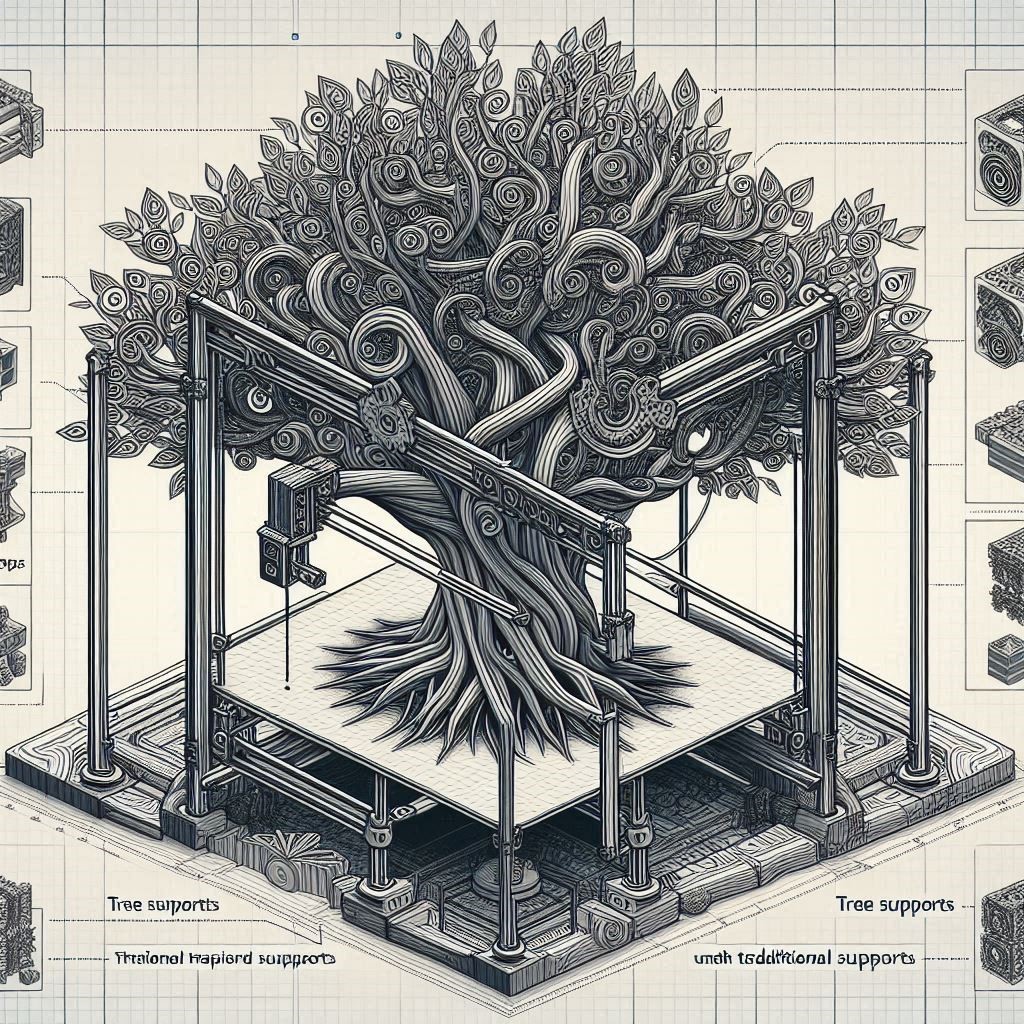
Tree supports can be particularly useful for organic shapes. They take up less space and are easier to remove than traditional supports.
3. Z Offset
Adjusting the Z offset can help fine-tune the first layer’s height. If you notice that your first layer is too squished or too high, adjusting this setting can lead to better adhesion and print quality.
Troubleshooting Common Issues
Even with the right settings, you may encounter issues. Here are some common problems and solutions:
- First Layer Adhesion Problems: Ensure your bed is leveled and clean. You might also need to adjust the initial layer height or temperature.
- Stringing: Increase retraction settings and check for proper nozzle temperature. Lowering the print speed can also help.
- Layer Separation: If layers are separating, consider increasing the nozzle temperature or ensuring proper cooling.
Conclusion
Mastering the Cura settings for your Creality Ender 3 is a rewarding journey that enhances your 3D printing experience. By understanding the intricacies of layer height, print speed, infill density, and cooling, you can achieve stunning prints that meet your specific needs. Remember that 3D printing often requires experimentation. Don’t hesitate to tweak settings and test different configurations to find what works best for you.
With the right knowledge and tools at your disposal, you’re well on your way to creating amazing 3D prints that can bring your ideas to life. Happy printing!
